Fence Project, Part 1
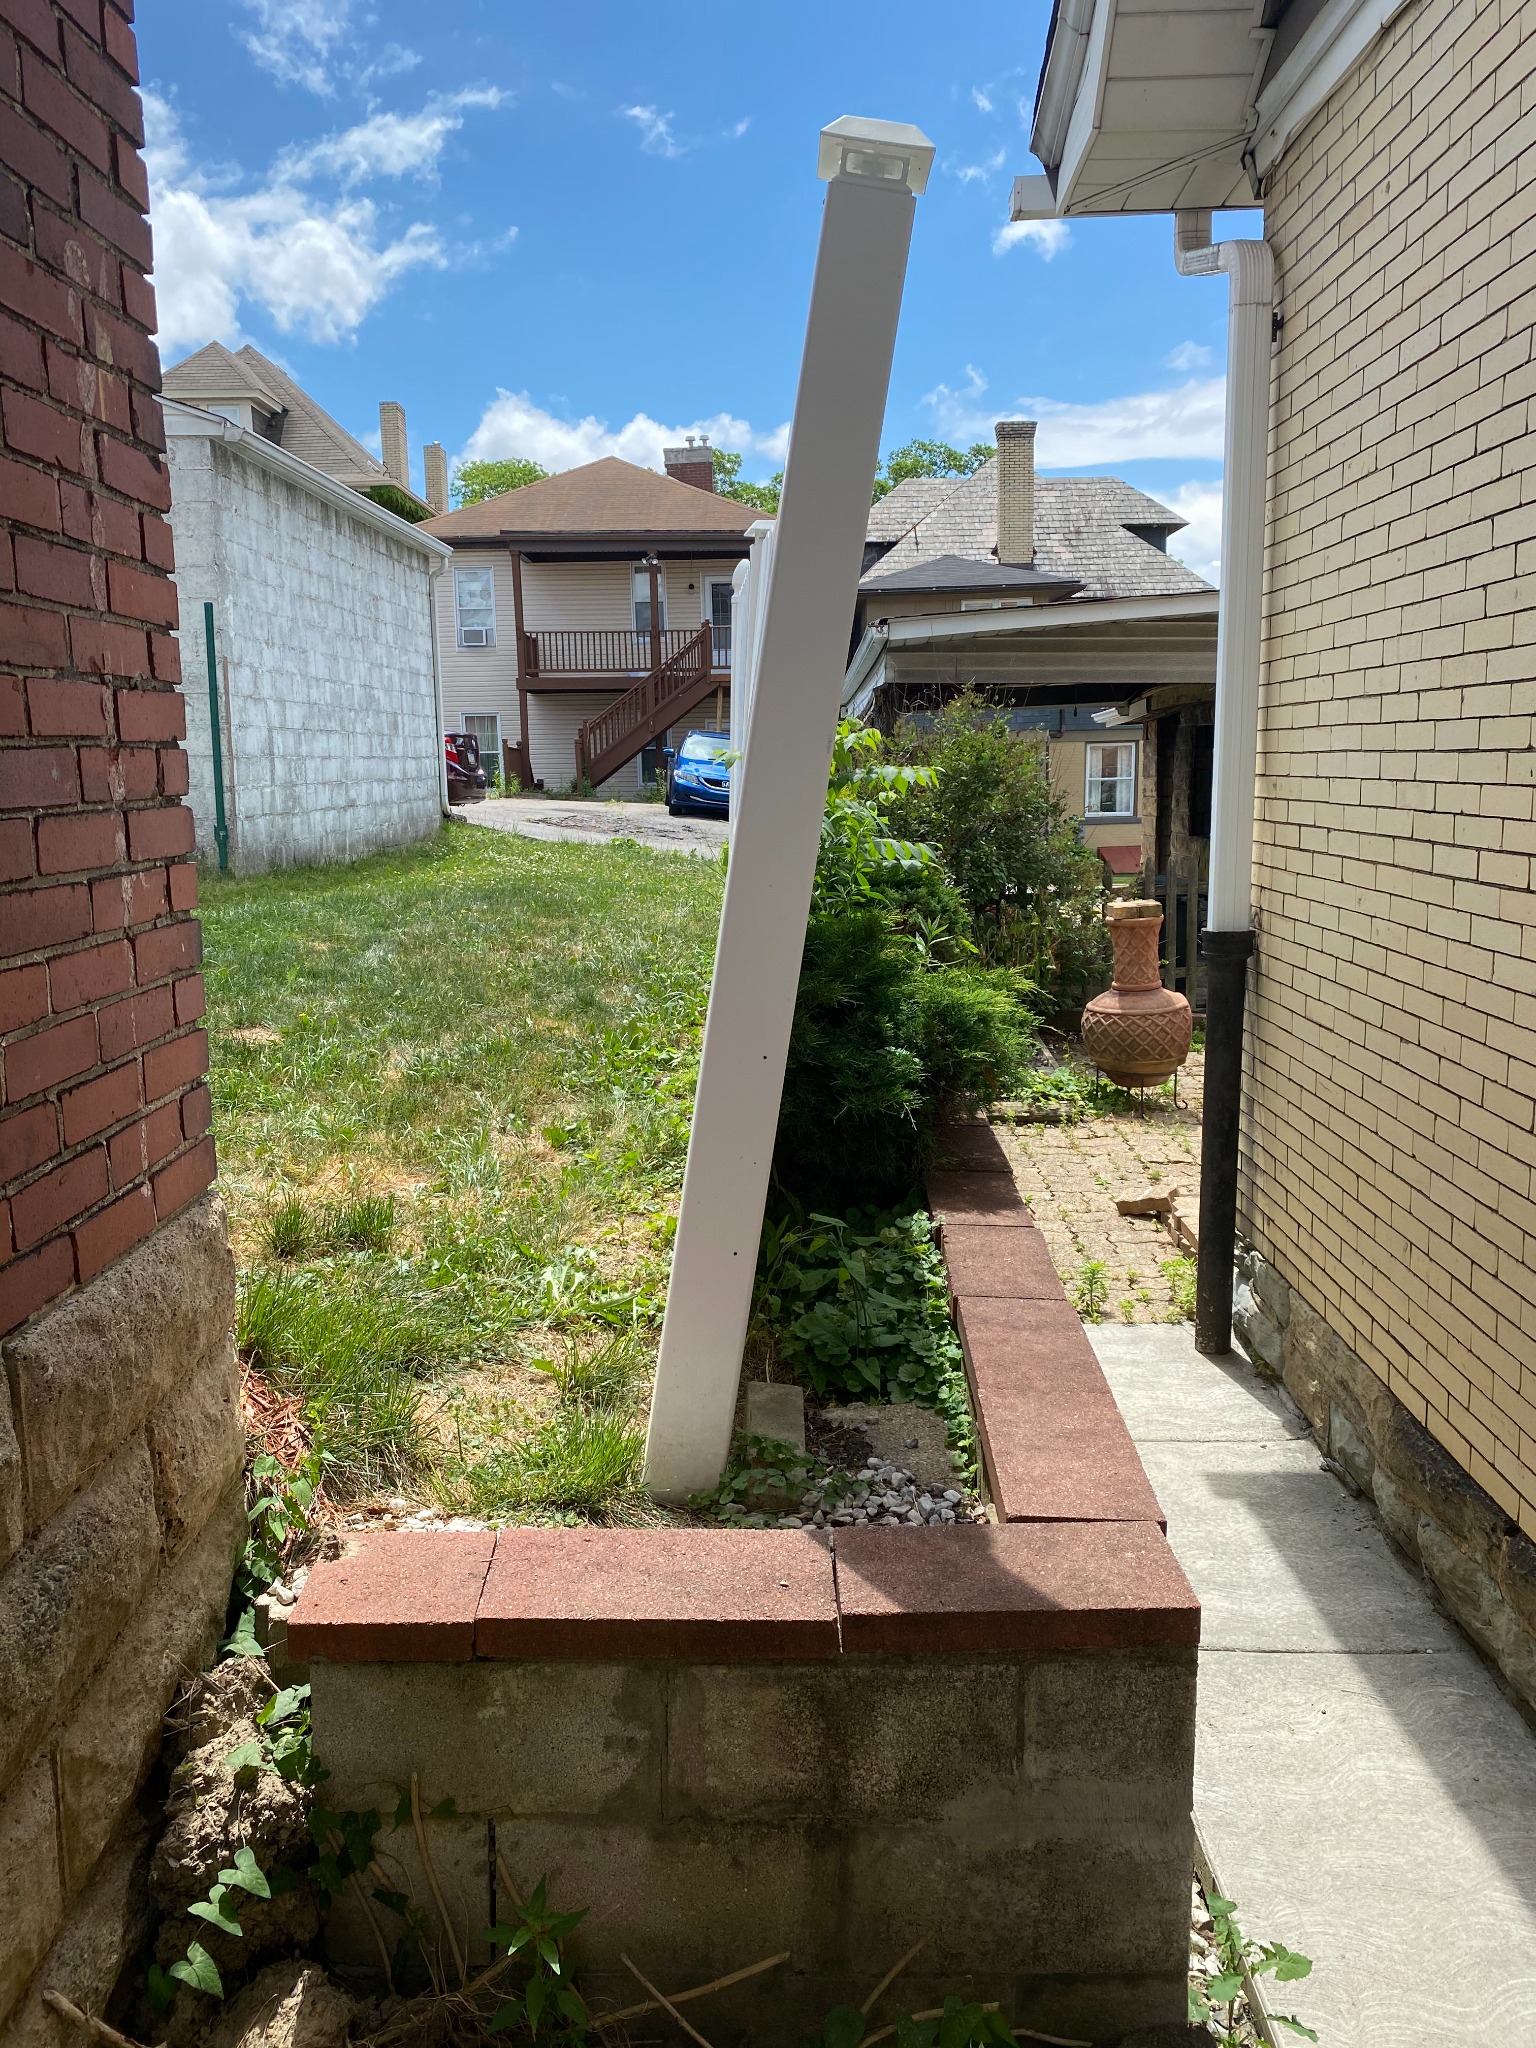
The fence is leaning.
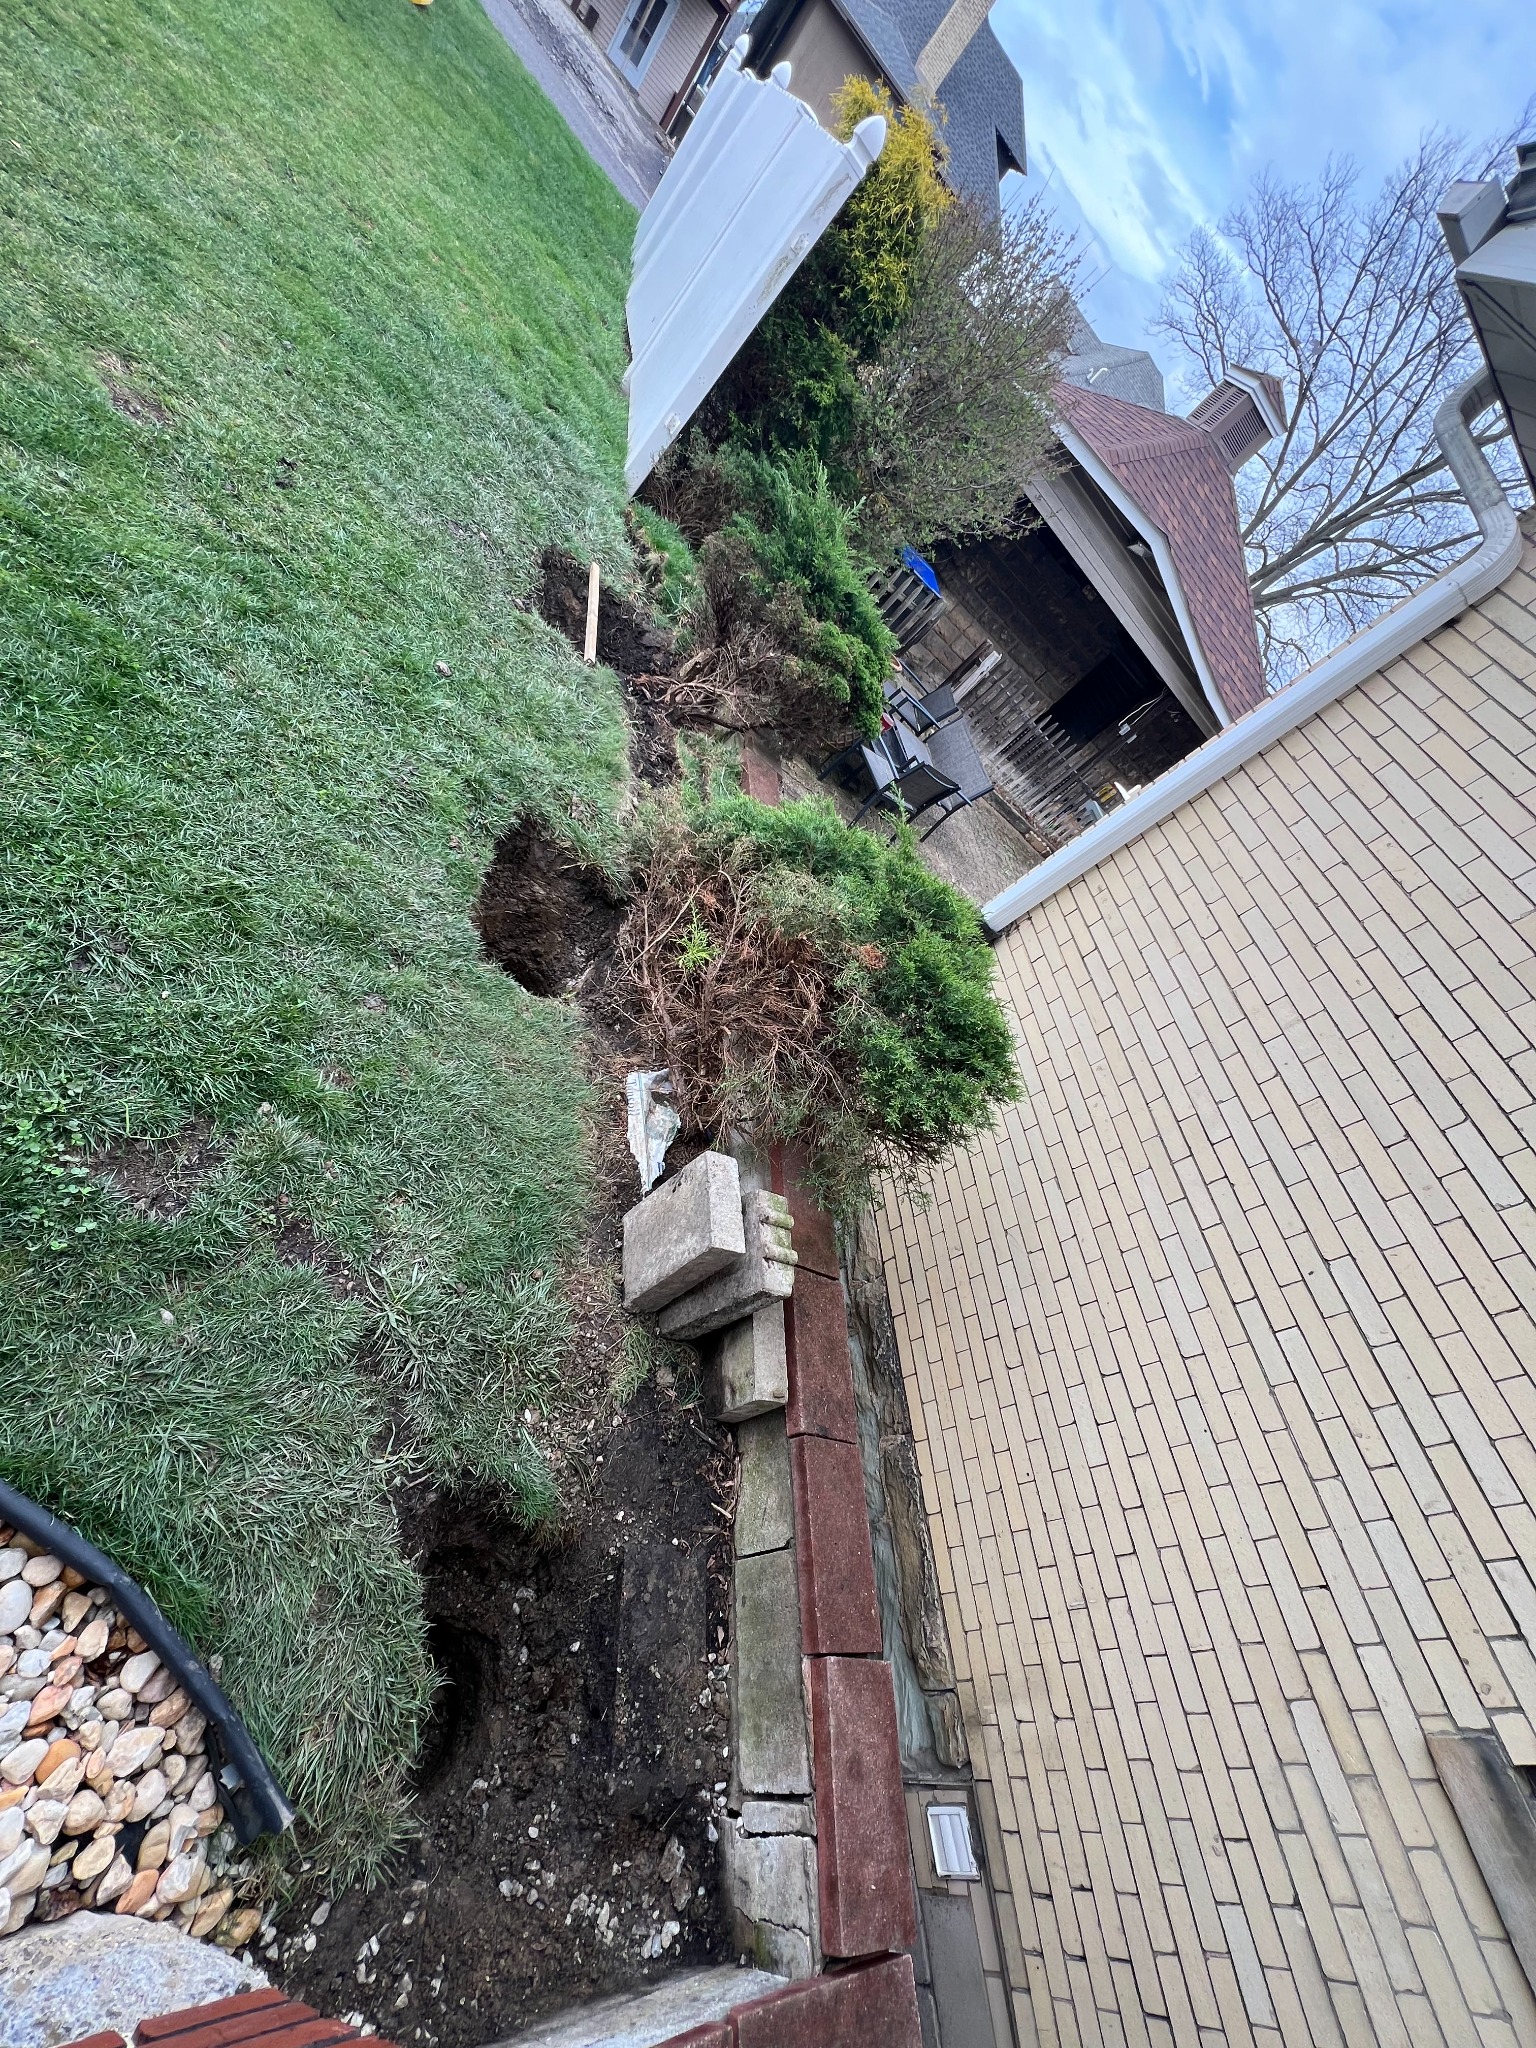
When we moved into our house, the vinyl fence in the backyard was already leaning into the neighbor’s yard. I ignored it for a few years, but then we had a wind storm in March that made it even worse and broke a few of the brackets that were holding some of the posts and panels together, so I decided that I would remove and reinstall three of the posts and three of the panels over Easter weekend since it was a four-day weekend for me and the weather was really nice.
I don’t think the fence was installed correctly. Some of the brackets broke because the panels were sitting on the edges of the brackets (rather than fitting snugly in them), leaving some of the brackets exposed, so of course they snapped in a violent wind storm. This means that the distance between the two posts in some instances was over-measured. Also, when I removed the existing fence posts, I realized that the holes weren’t dug deeply enough, and it seems like they didn’t put any gravel underneath the posts to facilitate drainage. With no gravel, water was probably sitting at the base of the posts and during the winter, when it would freeze and thaw and freeze and thaw, likely dislodged the posts, weakened the base and led to them leaning more and more over time.
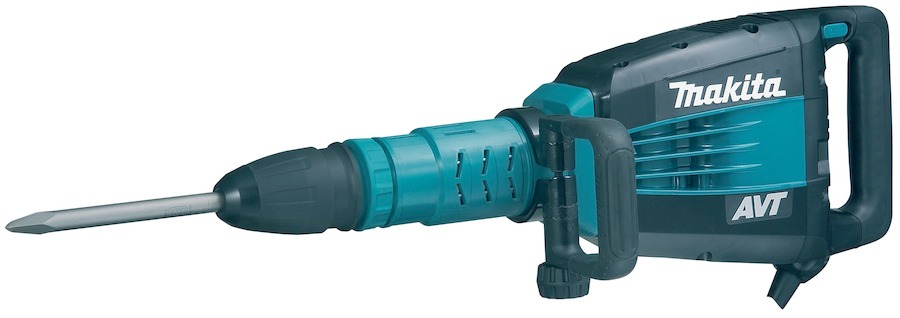
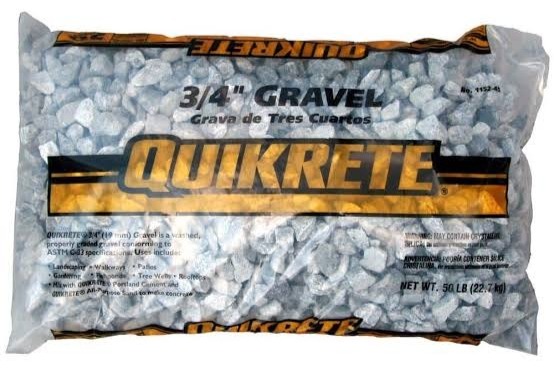
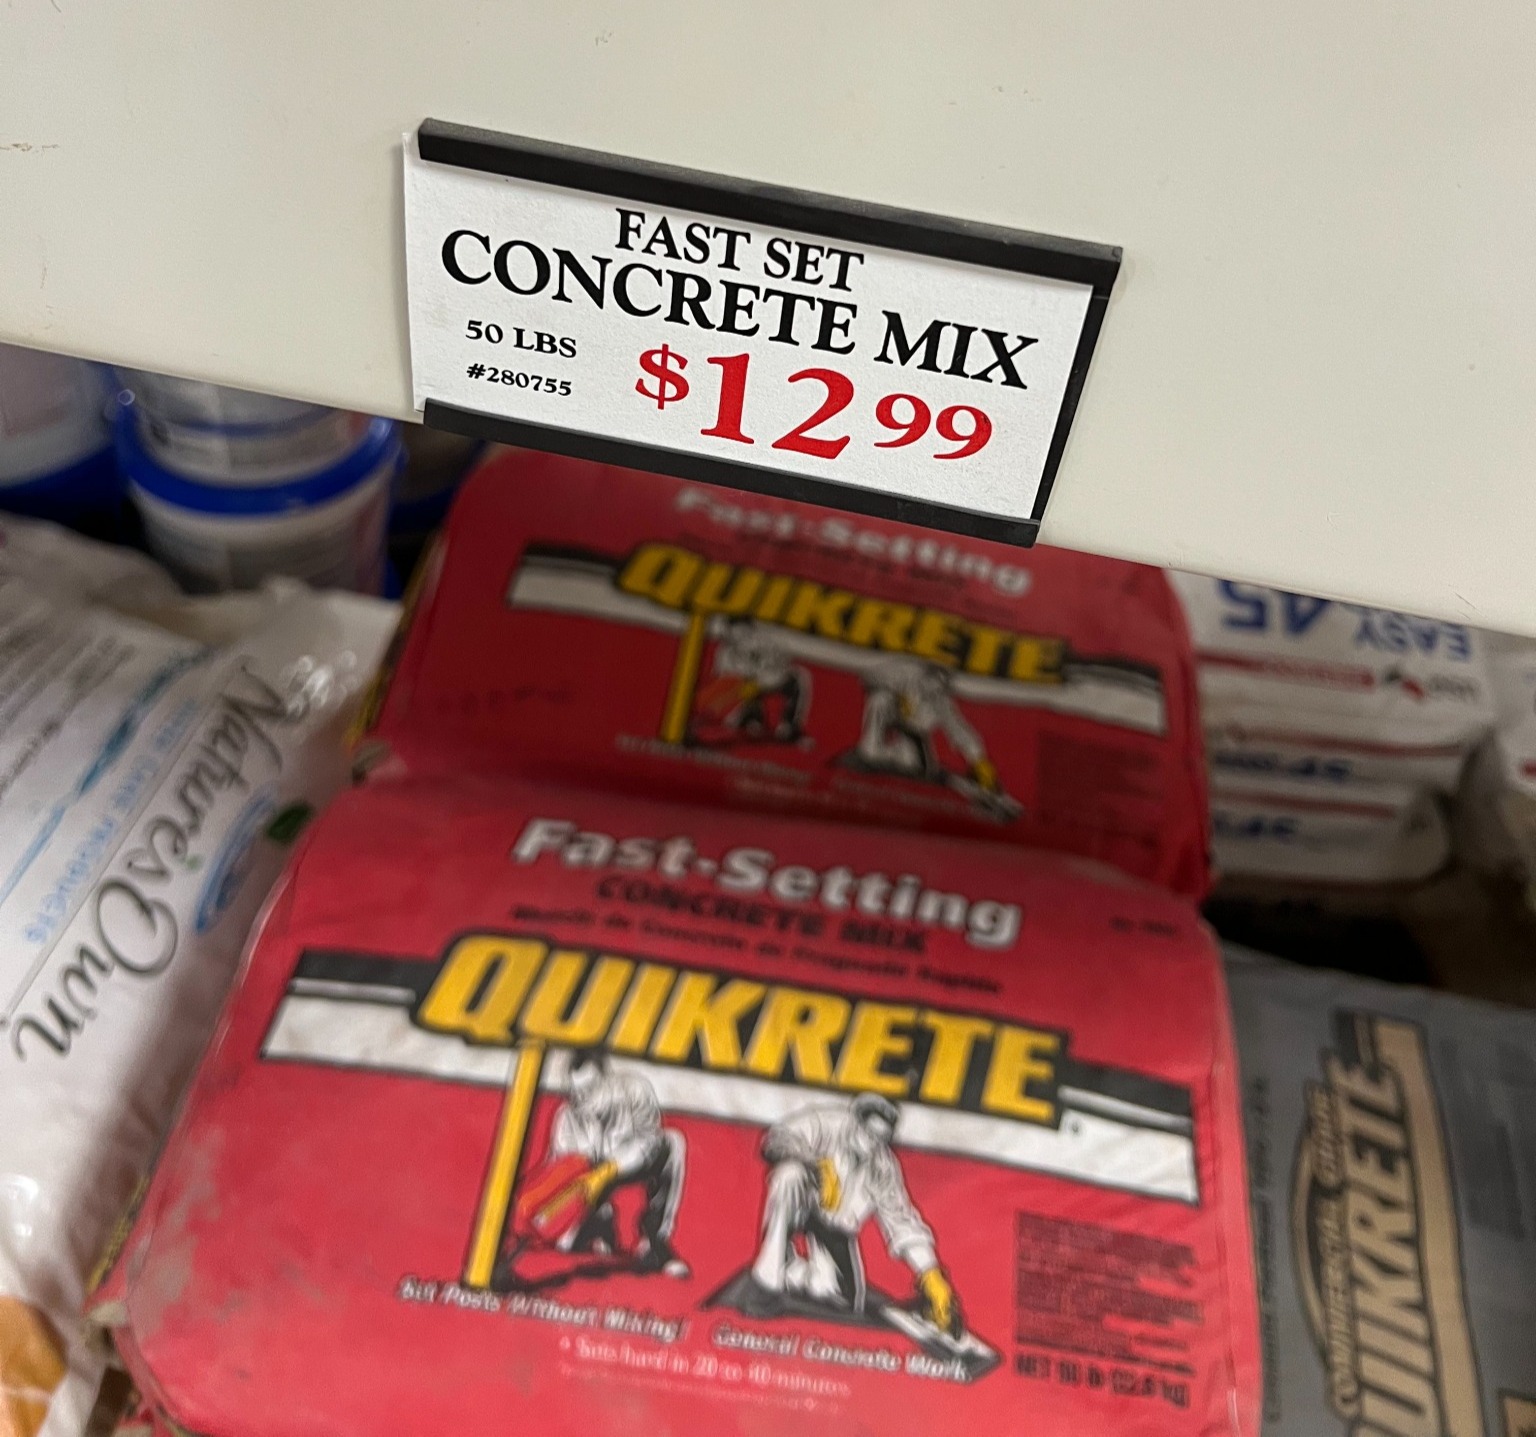
1) Go to Home Depot. Rent a jackhammer and buy gravel and quick setting concrete.
Only Home Depot has tools for rent--Not Lowe's. You can rent for four hours or 24 hours. I need the jackhammer to break up the concrete that is anchoring the existing posts. Calculating the amount of gravel and concrete mix to buy is pretty straightforward--Consider the volume of each hole and volume provided by each bag of material.
2) Remove the panels.
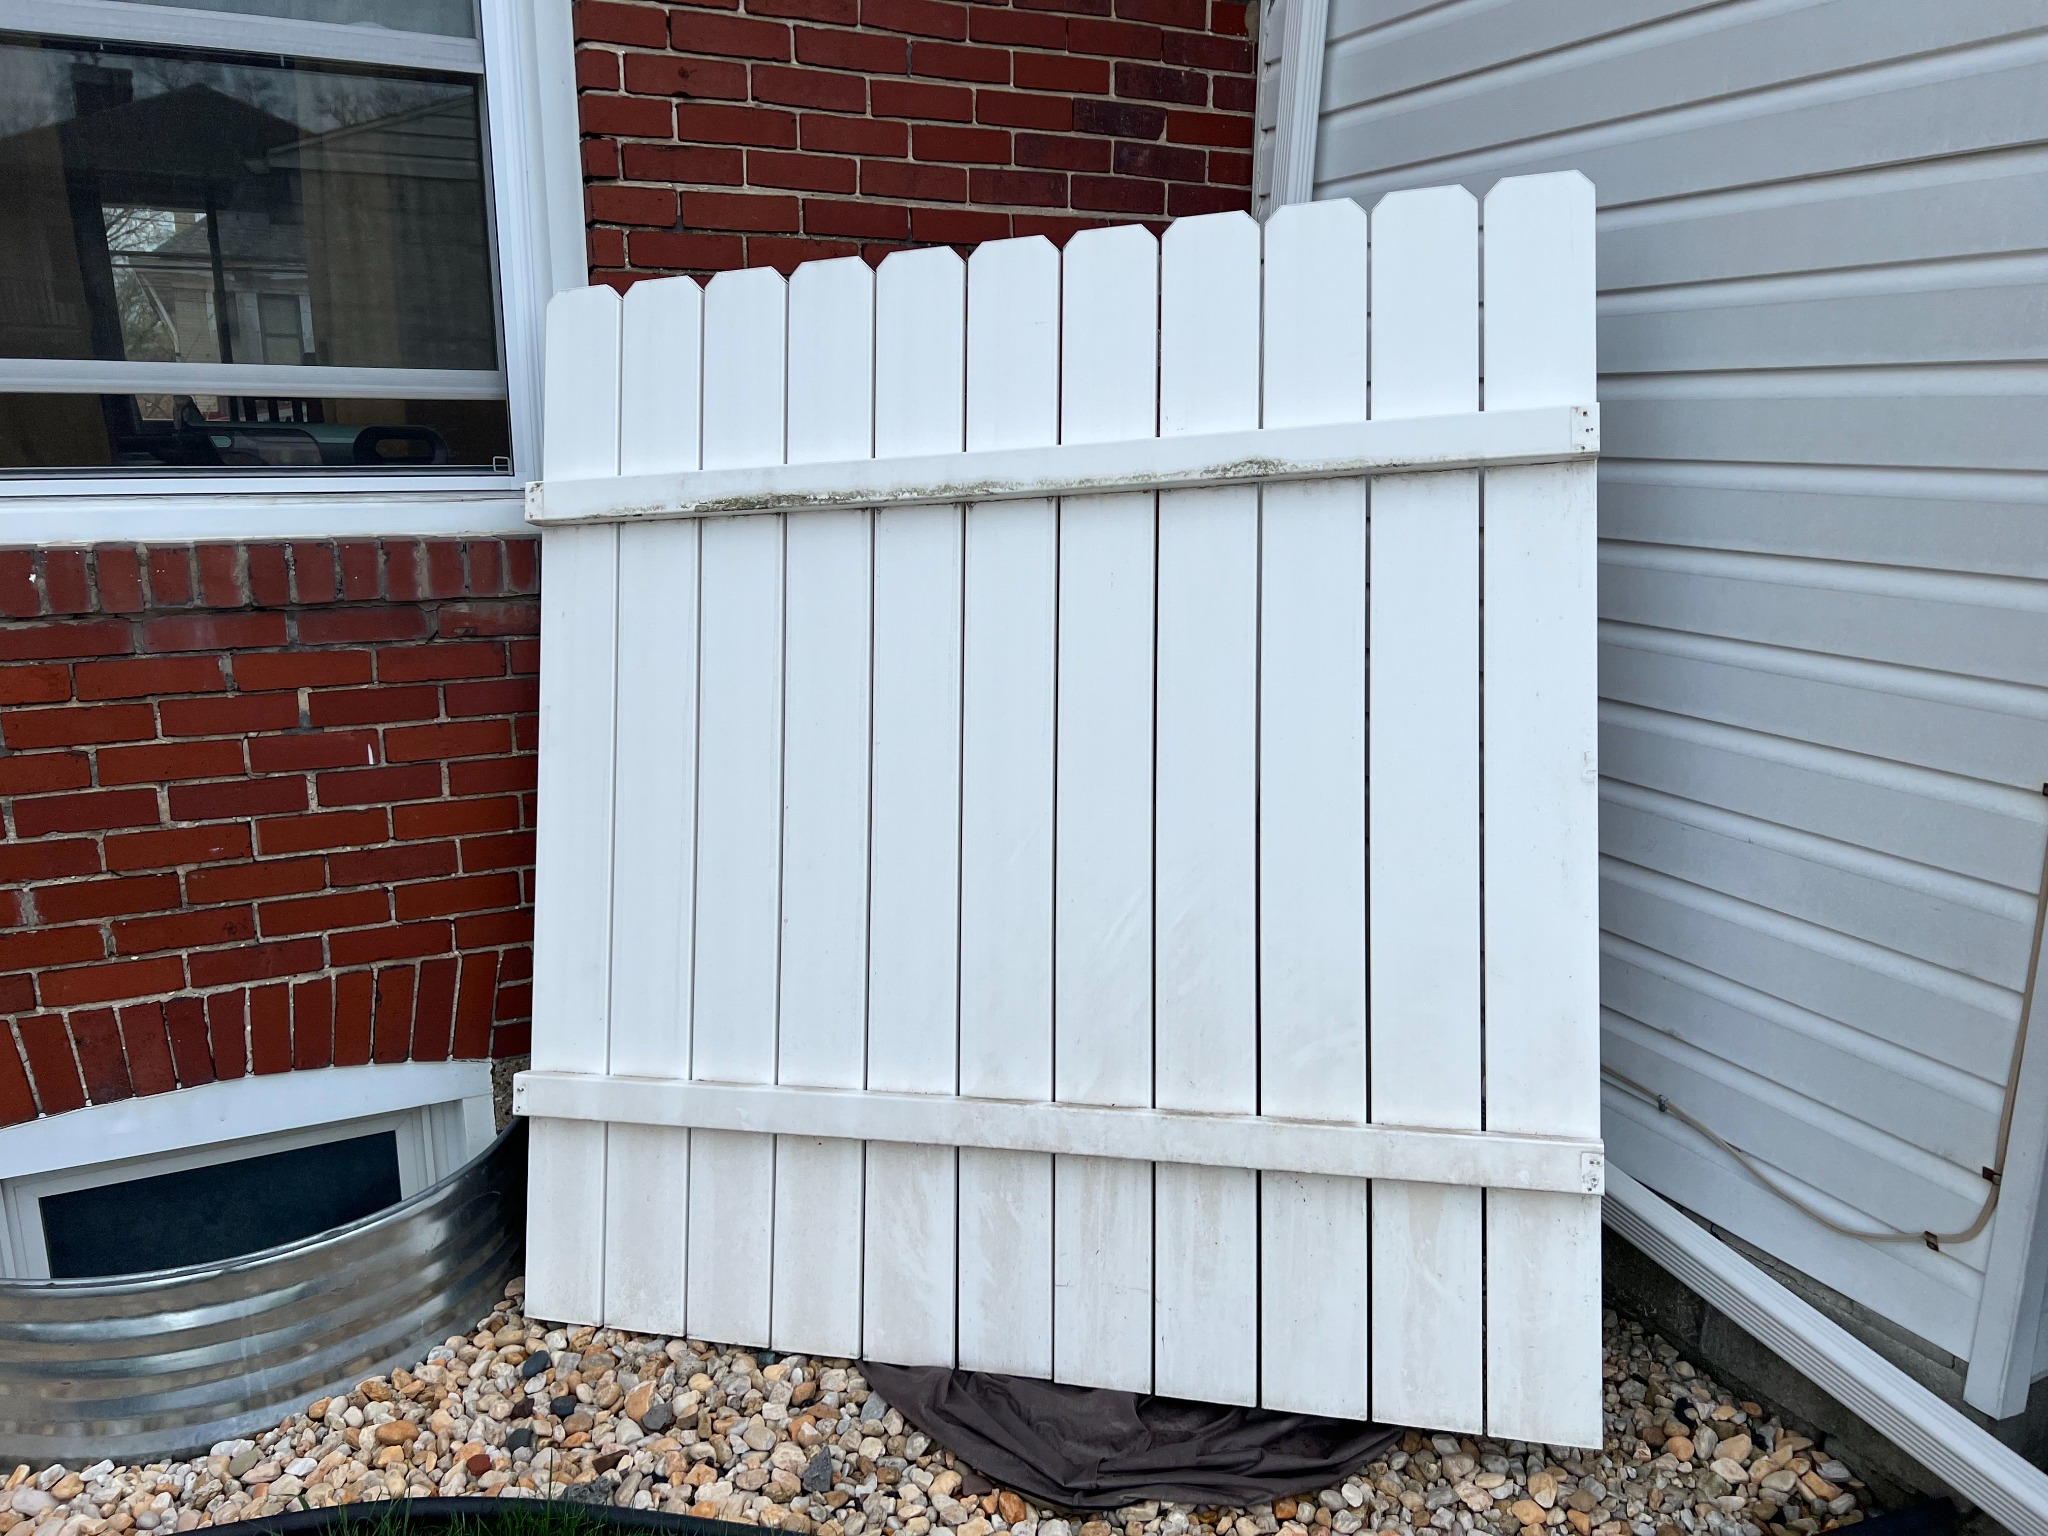
3) Cut out sections of the grass around each post. Save them for later.
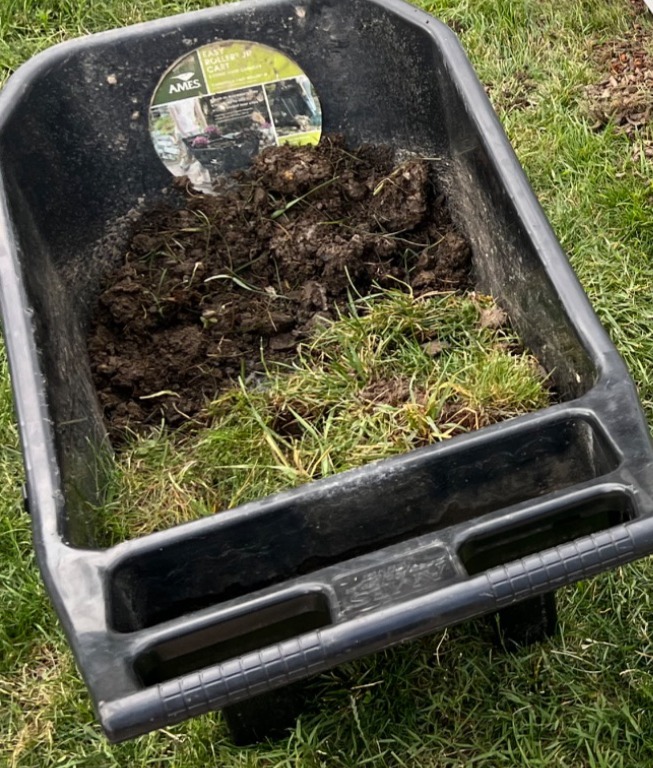
4) Dig out the holes. Also, hope that your neighbor who has all the answers volunteers his help.
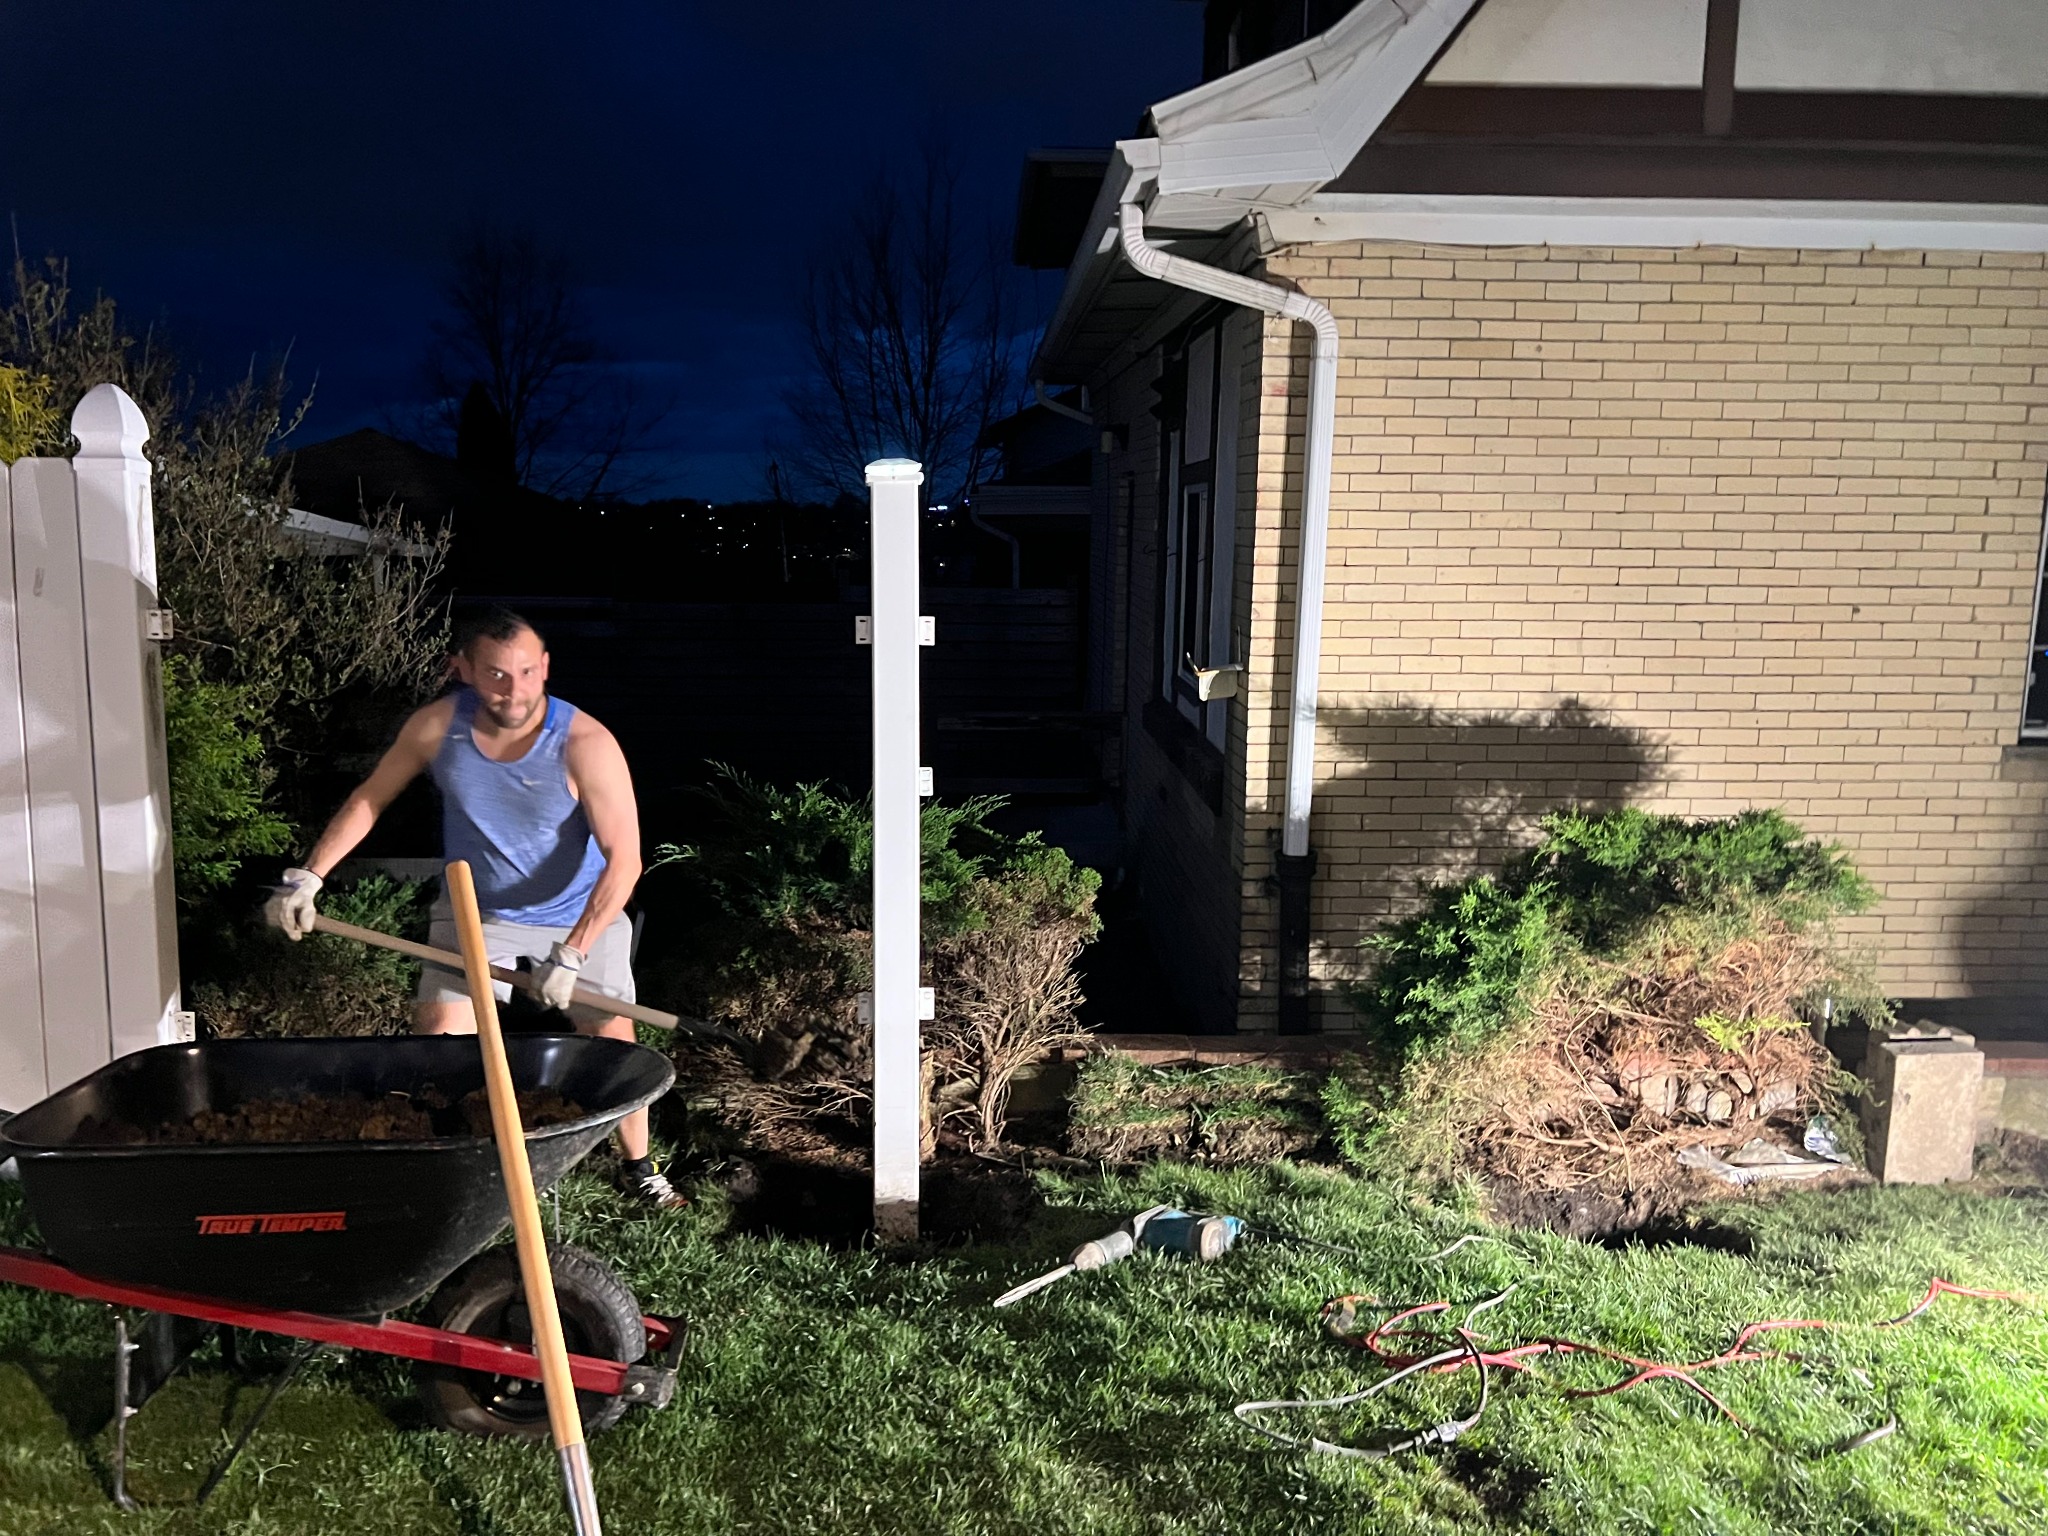
5) Remove the posts.
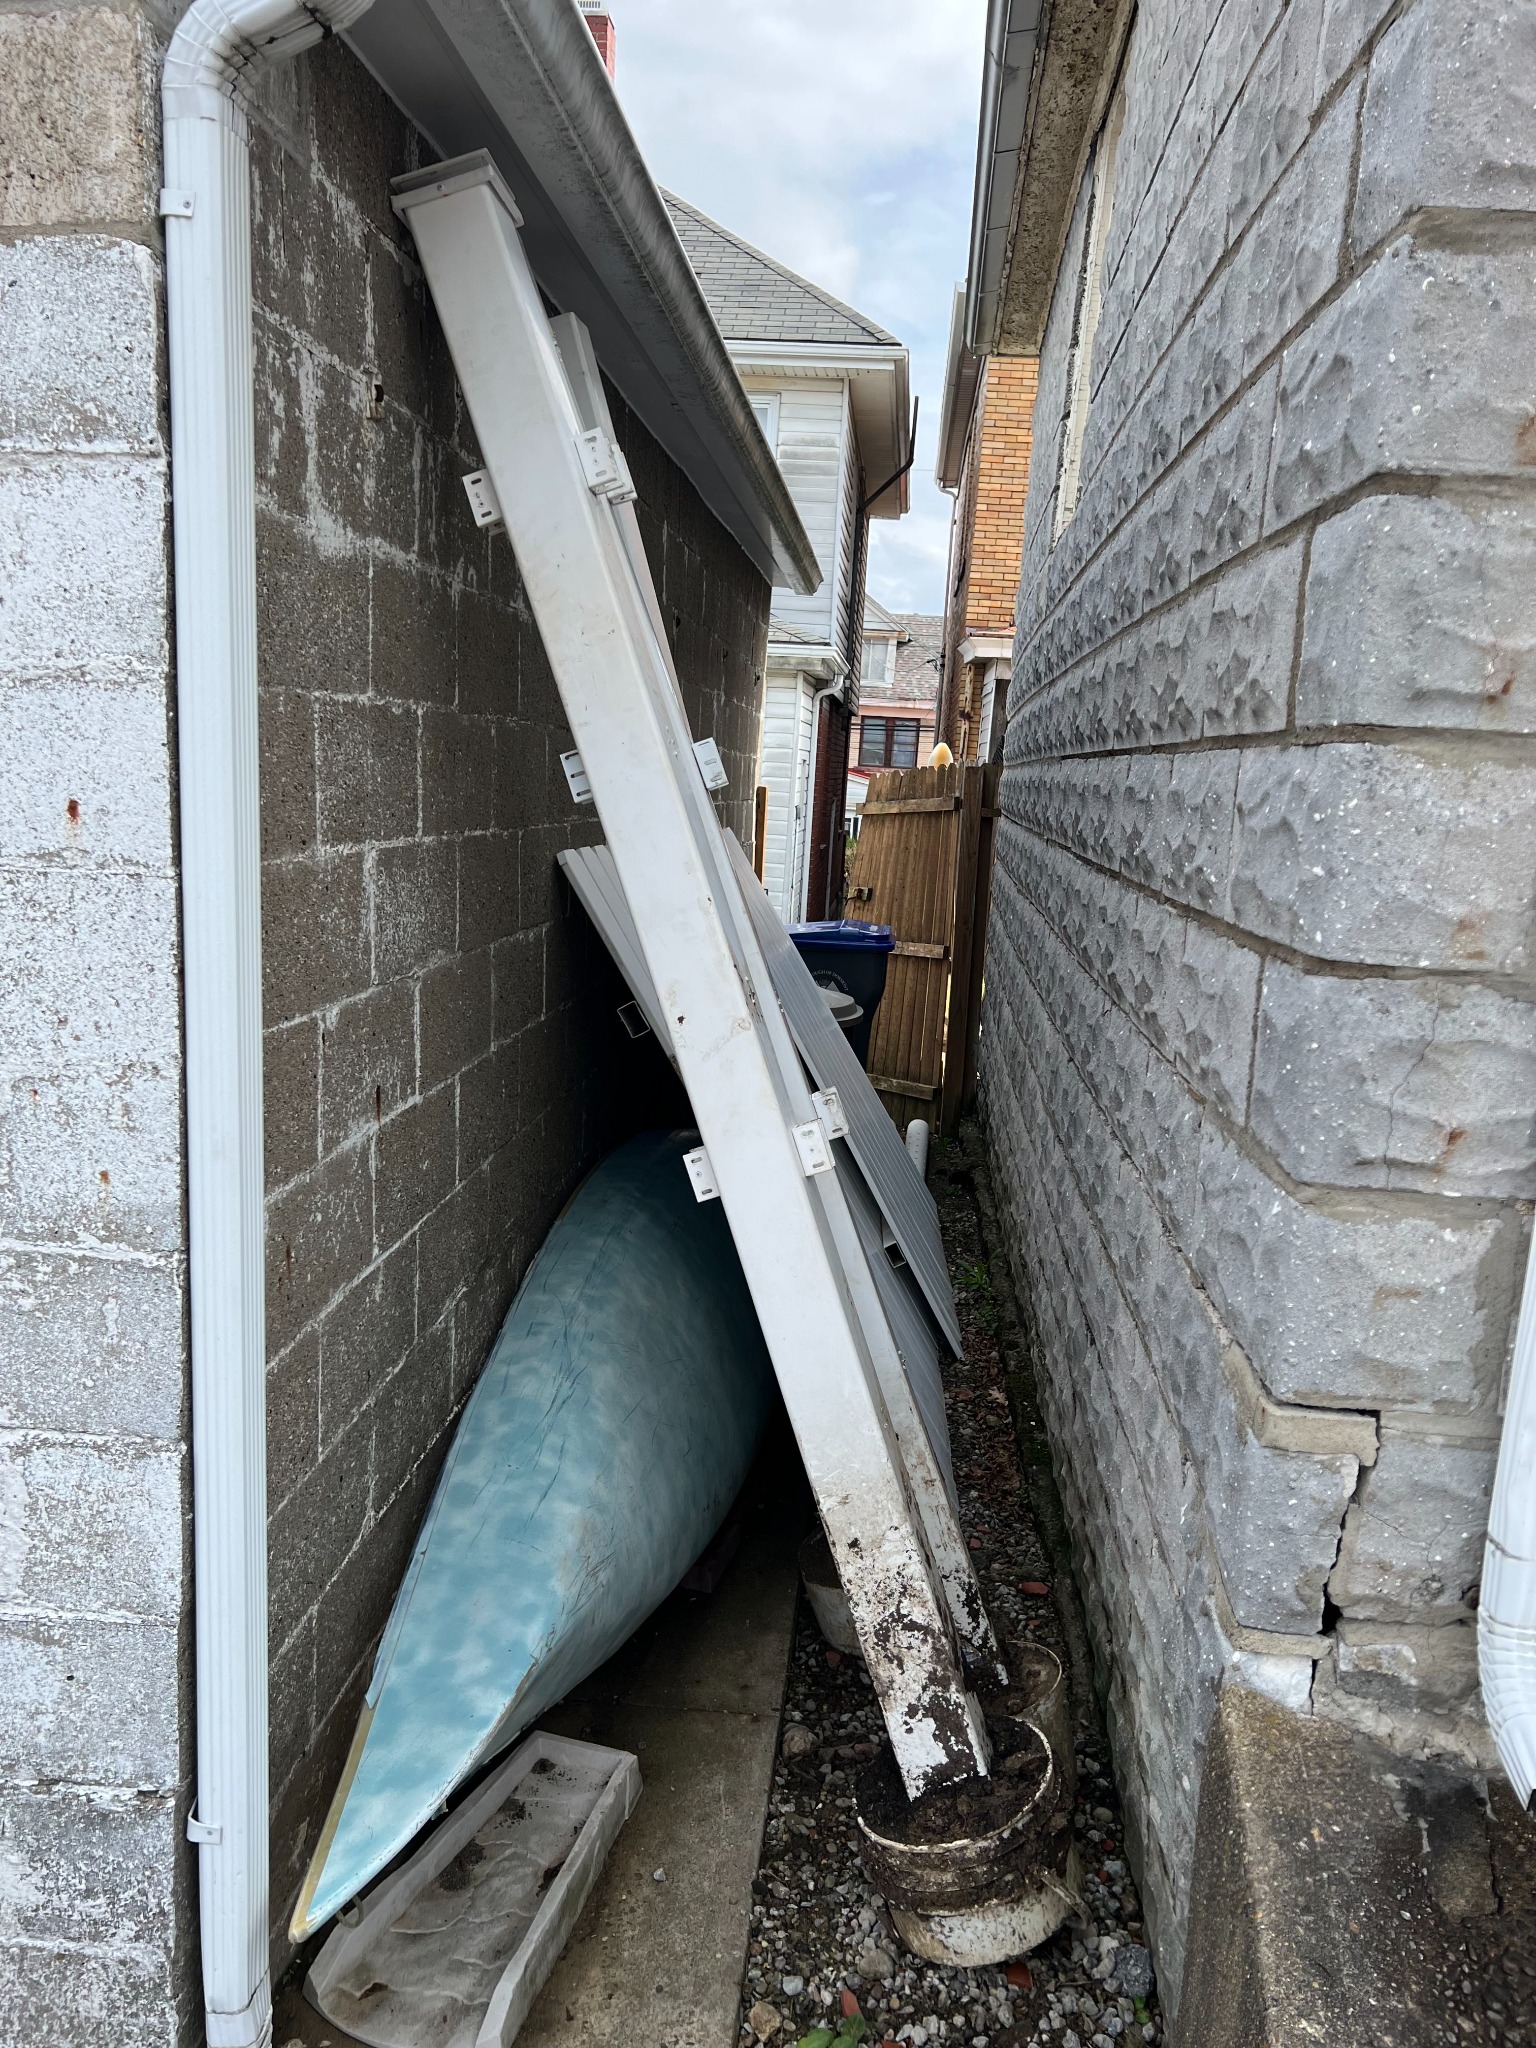
6) Continue digging until the recommended depth (1/3 of the new post length).
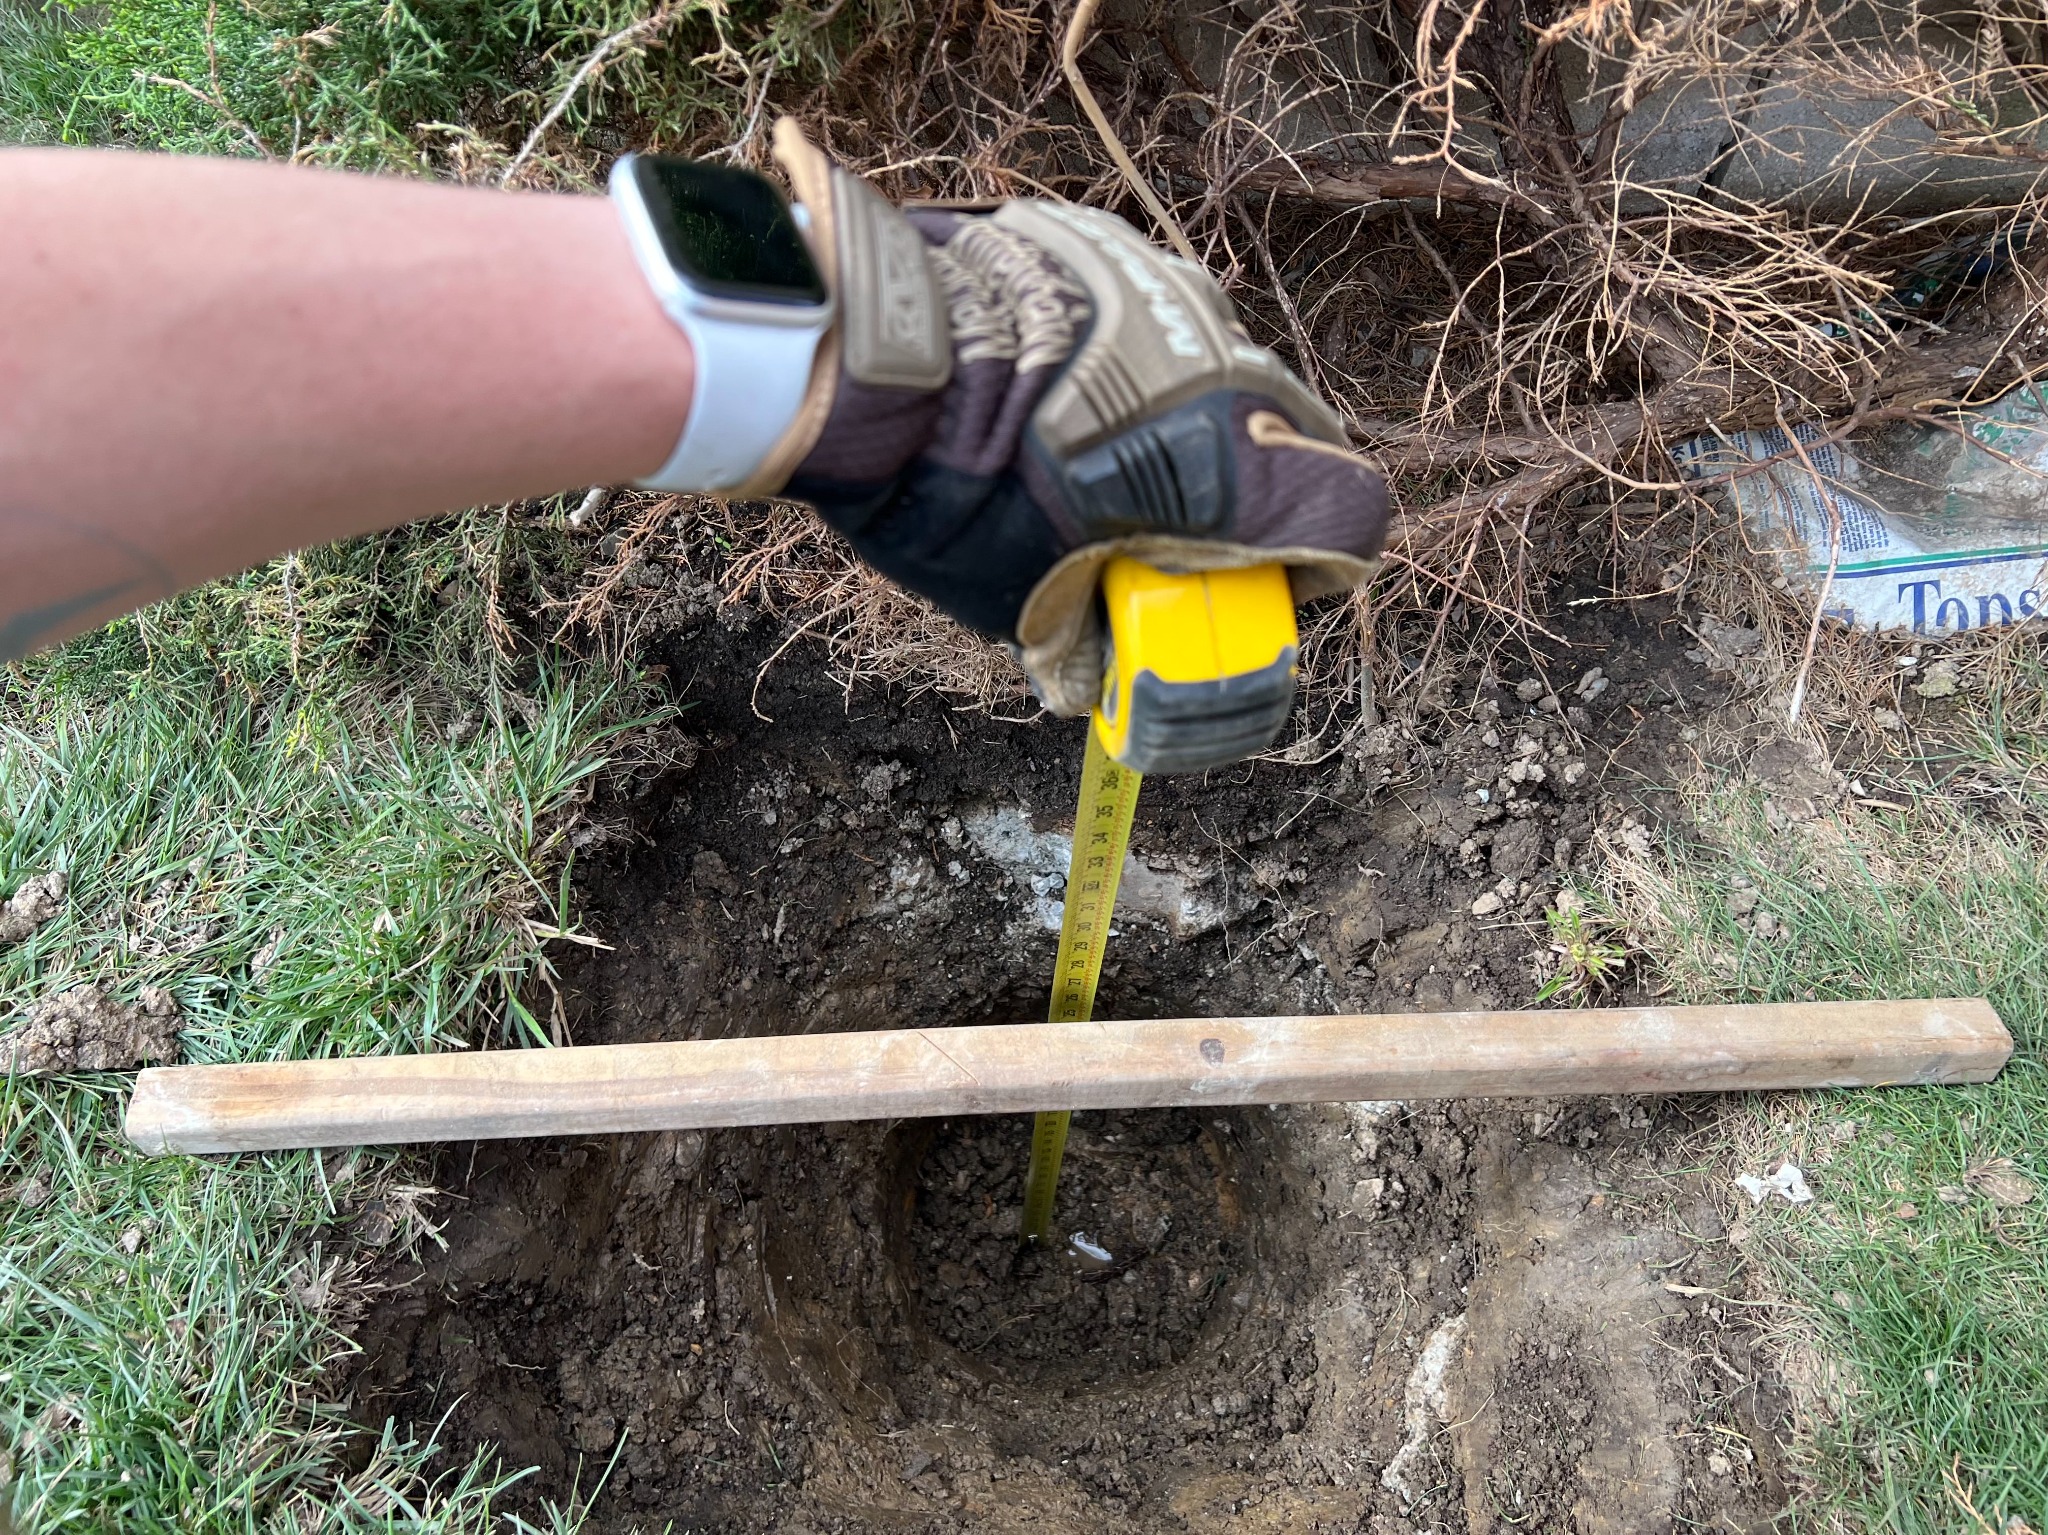
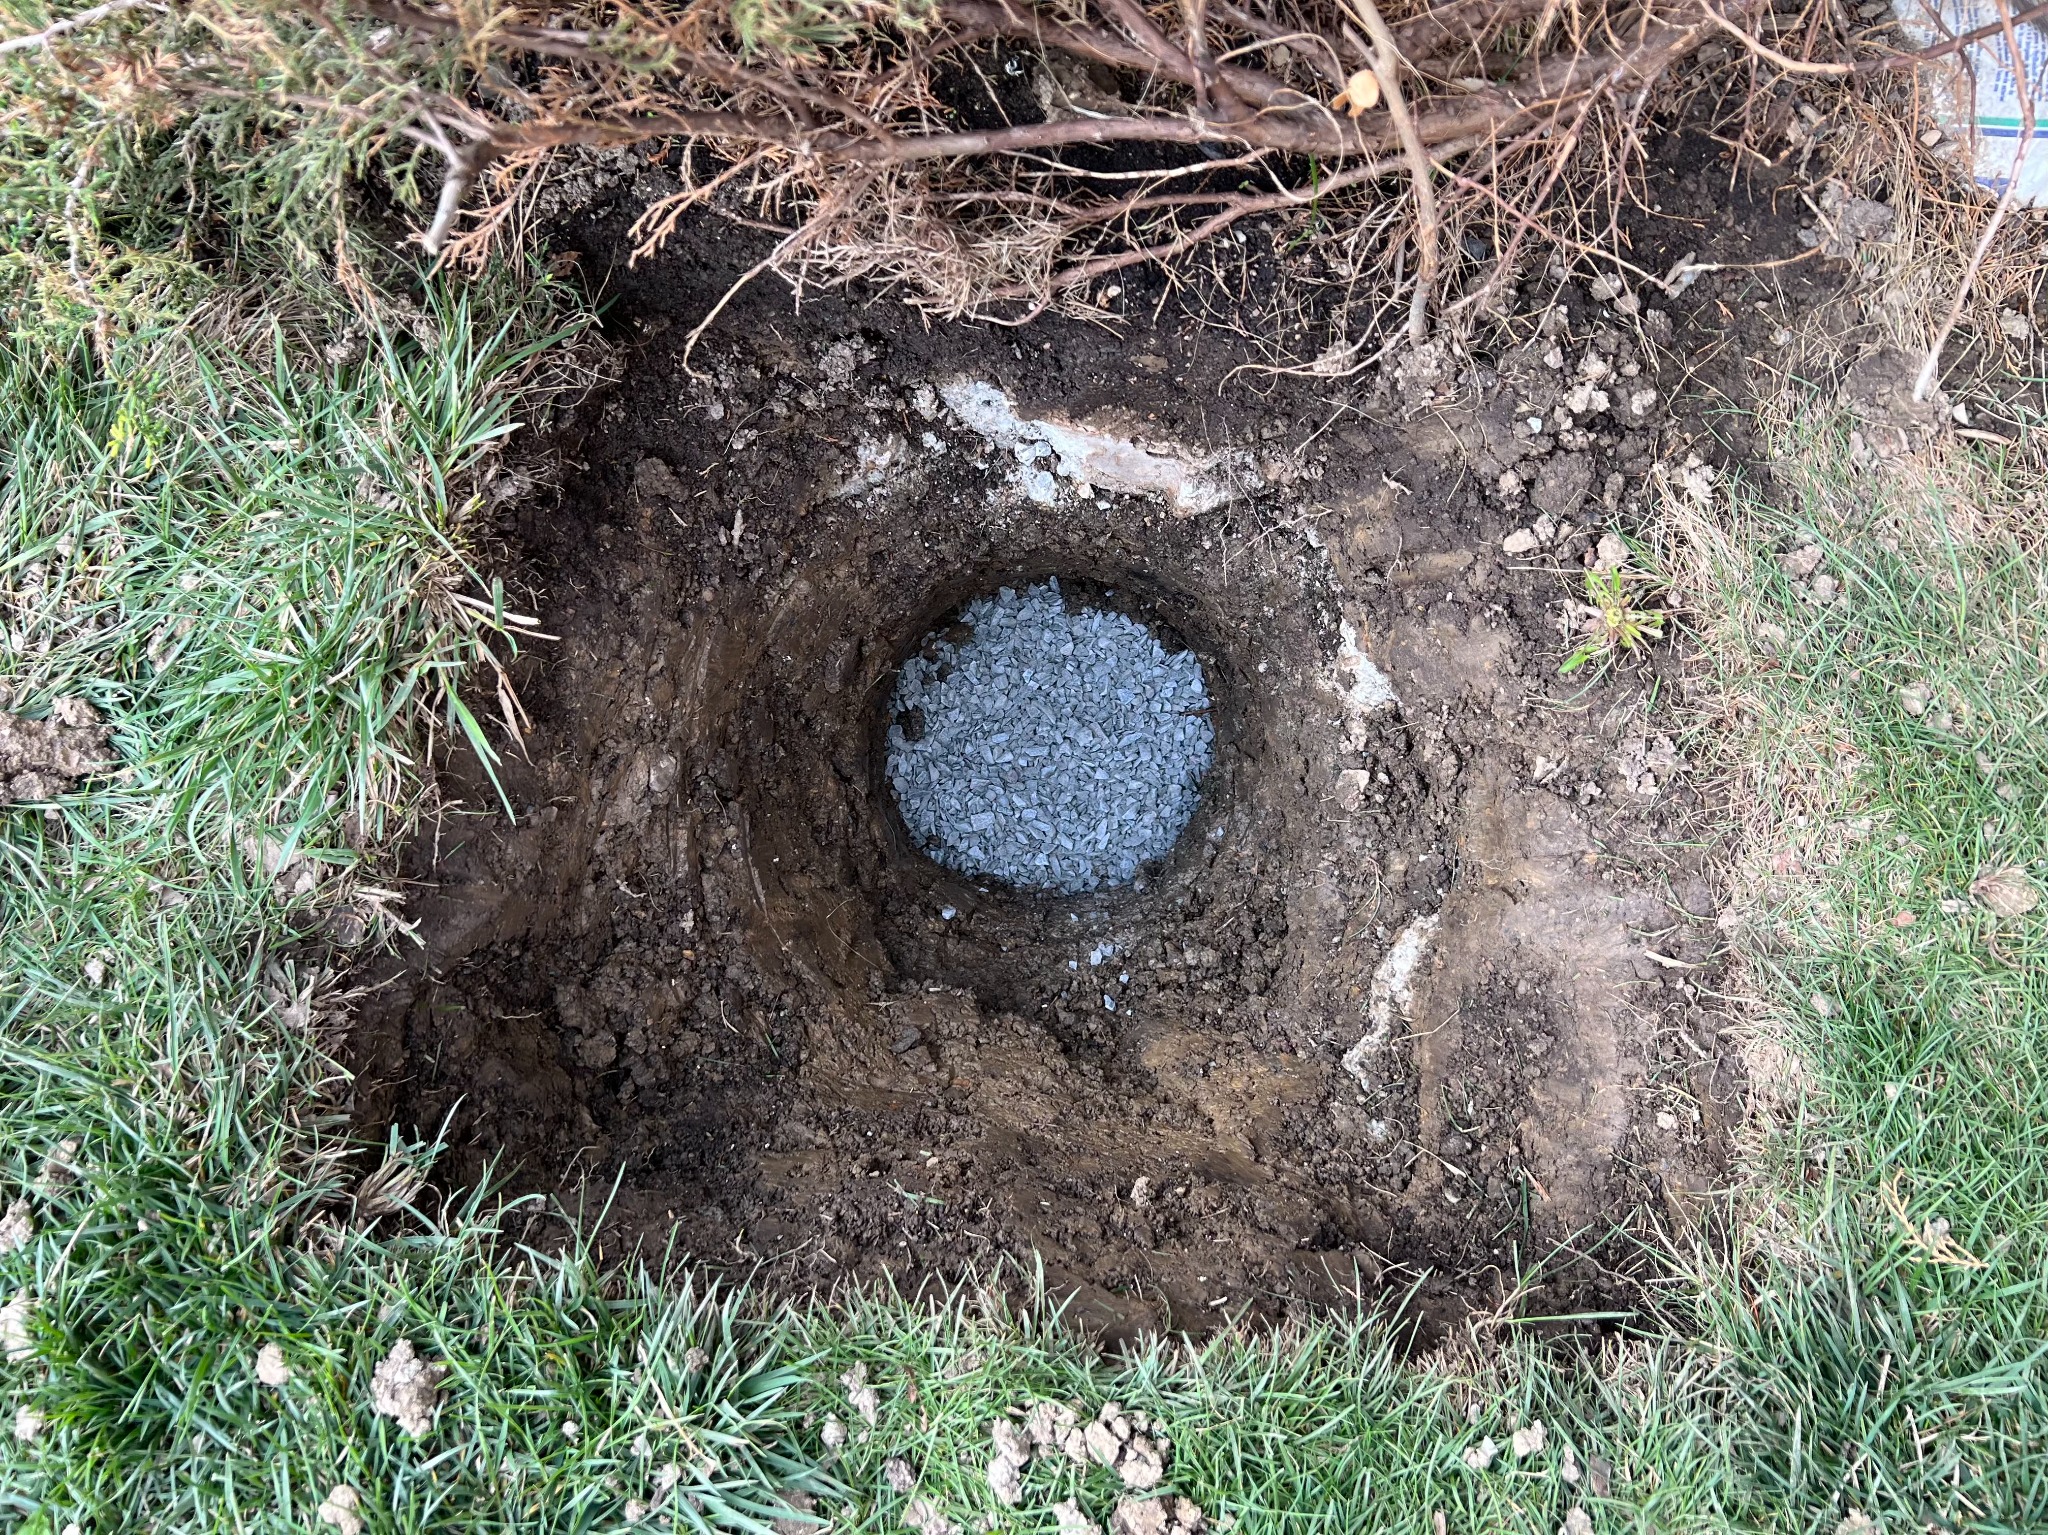
7) Pour the gravel.
I think I remember pouring 3-inches of gravel in each hole. Some instructions that I read said to pour 3-6 inches in each, but at some point I had to stop digging and if I poured too much gravel, the post would end up under-buried.
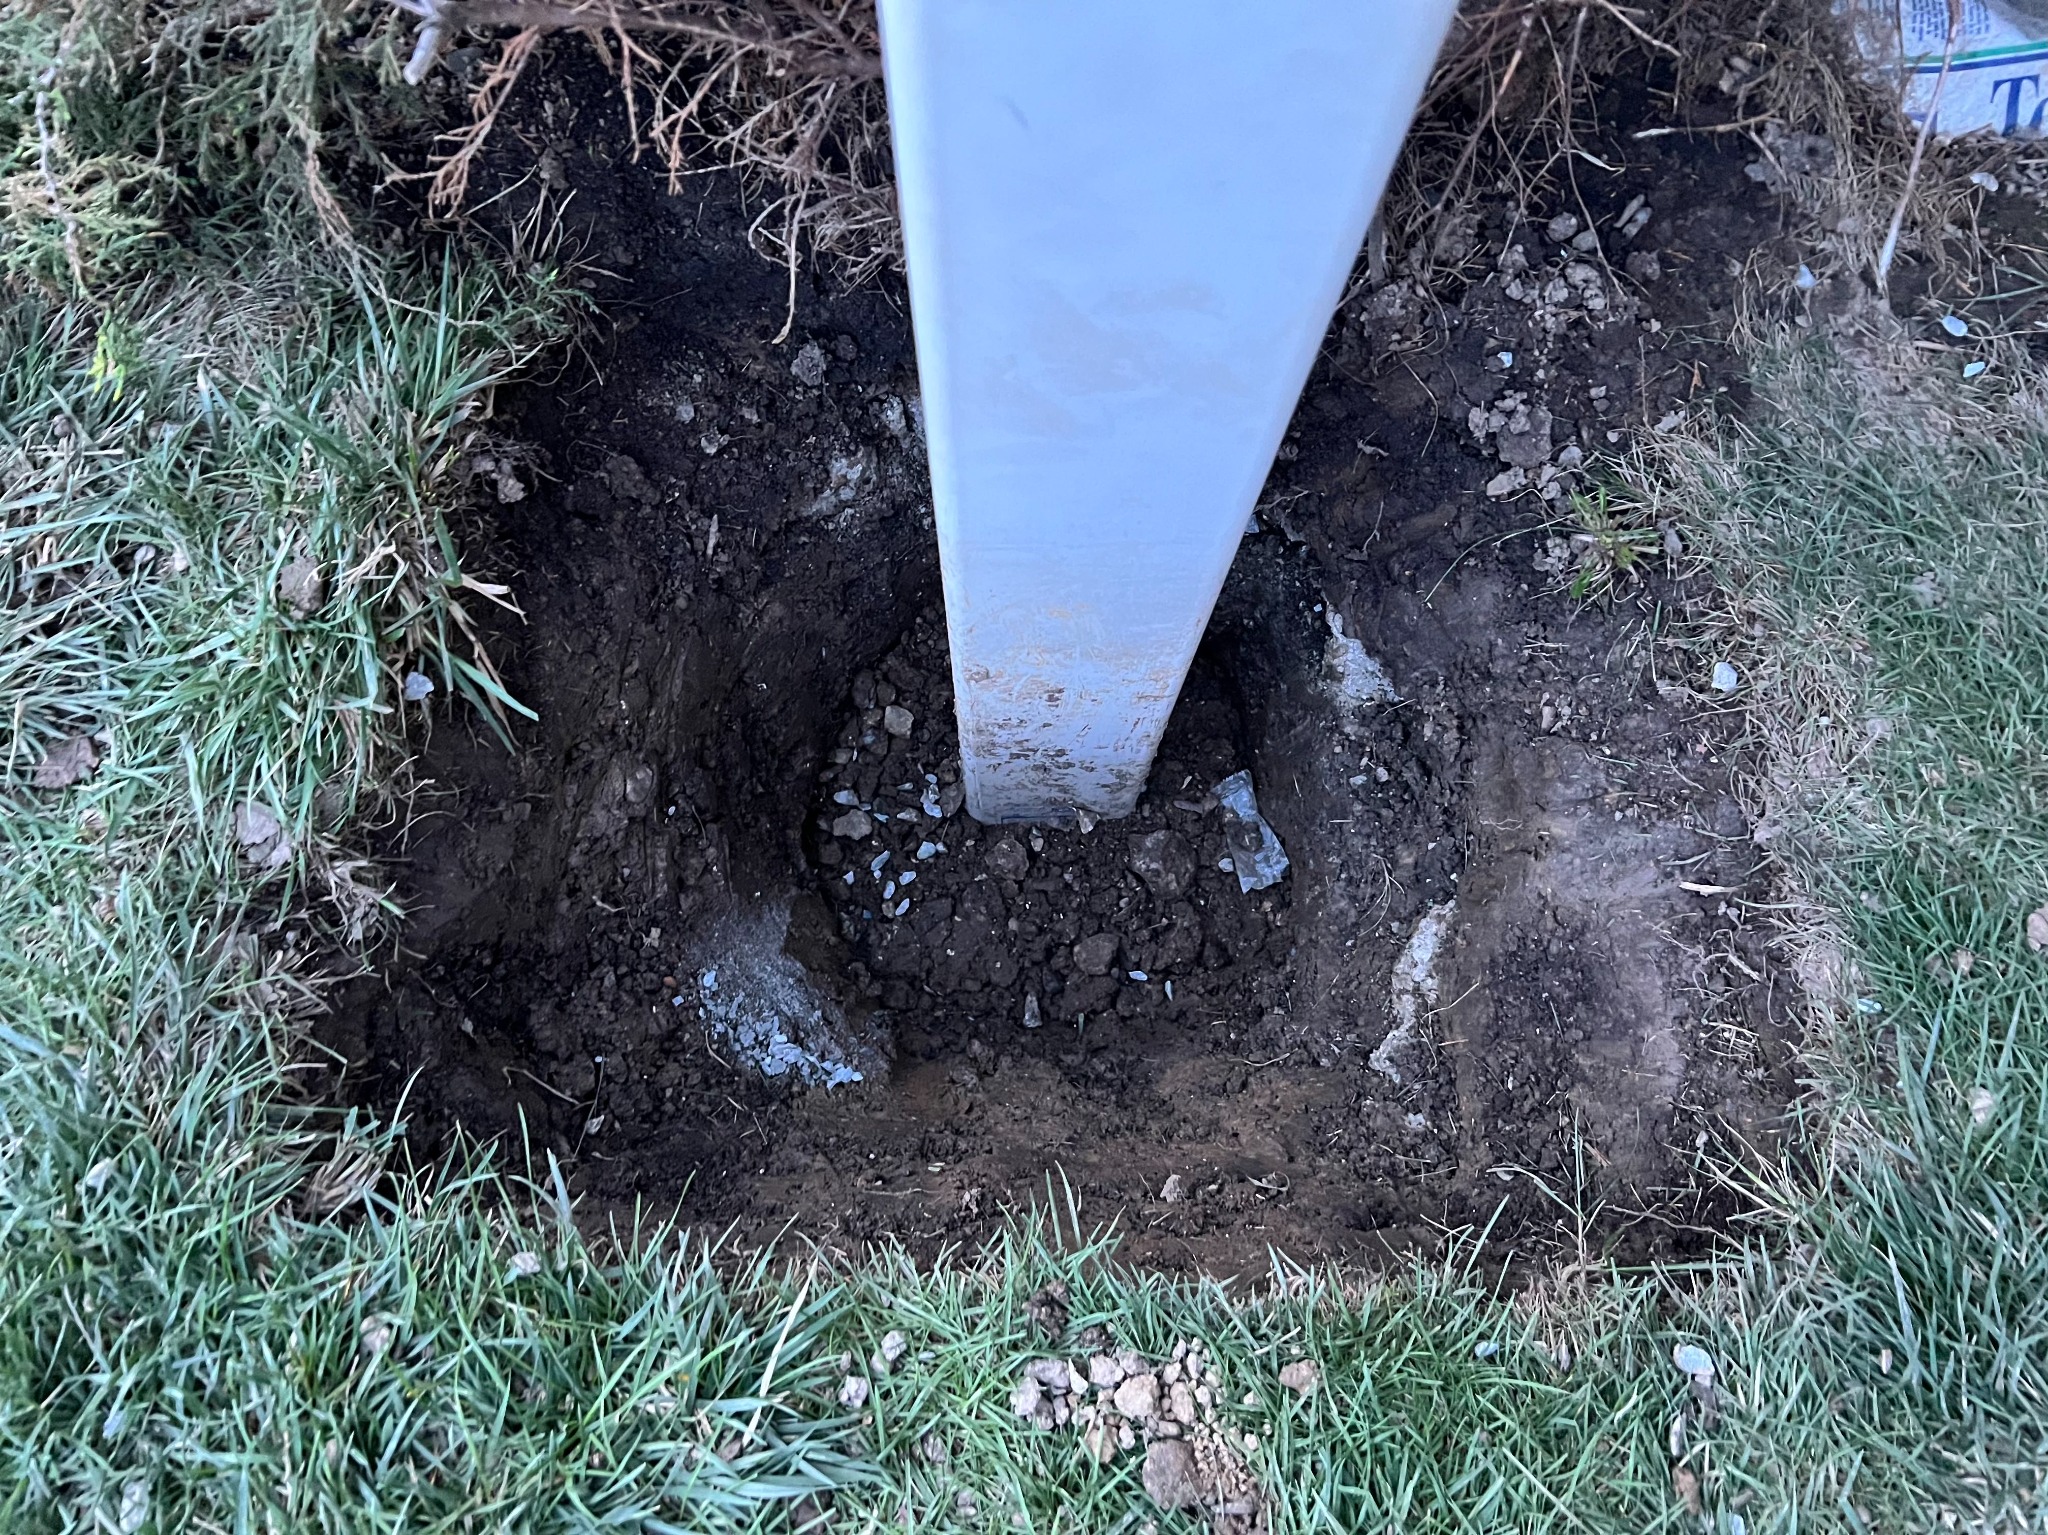
8) Set the posts.
Use a level to make sure that the post is plumb (perfectly vertical without leaning). (Actually, just get it close enough and then we can make it perfect later on while the concrete is setting.)
9) Mix the concrete with water.
This stuff really will set quickly--maybe within 20 minutes once it is left alone. So, keep the mix moving with the shovel until you have the right consistency (like peanut butter, according to Mario).
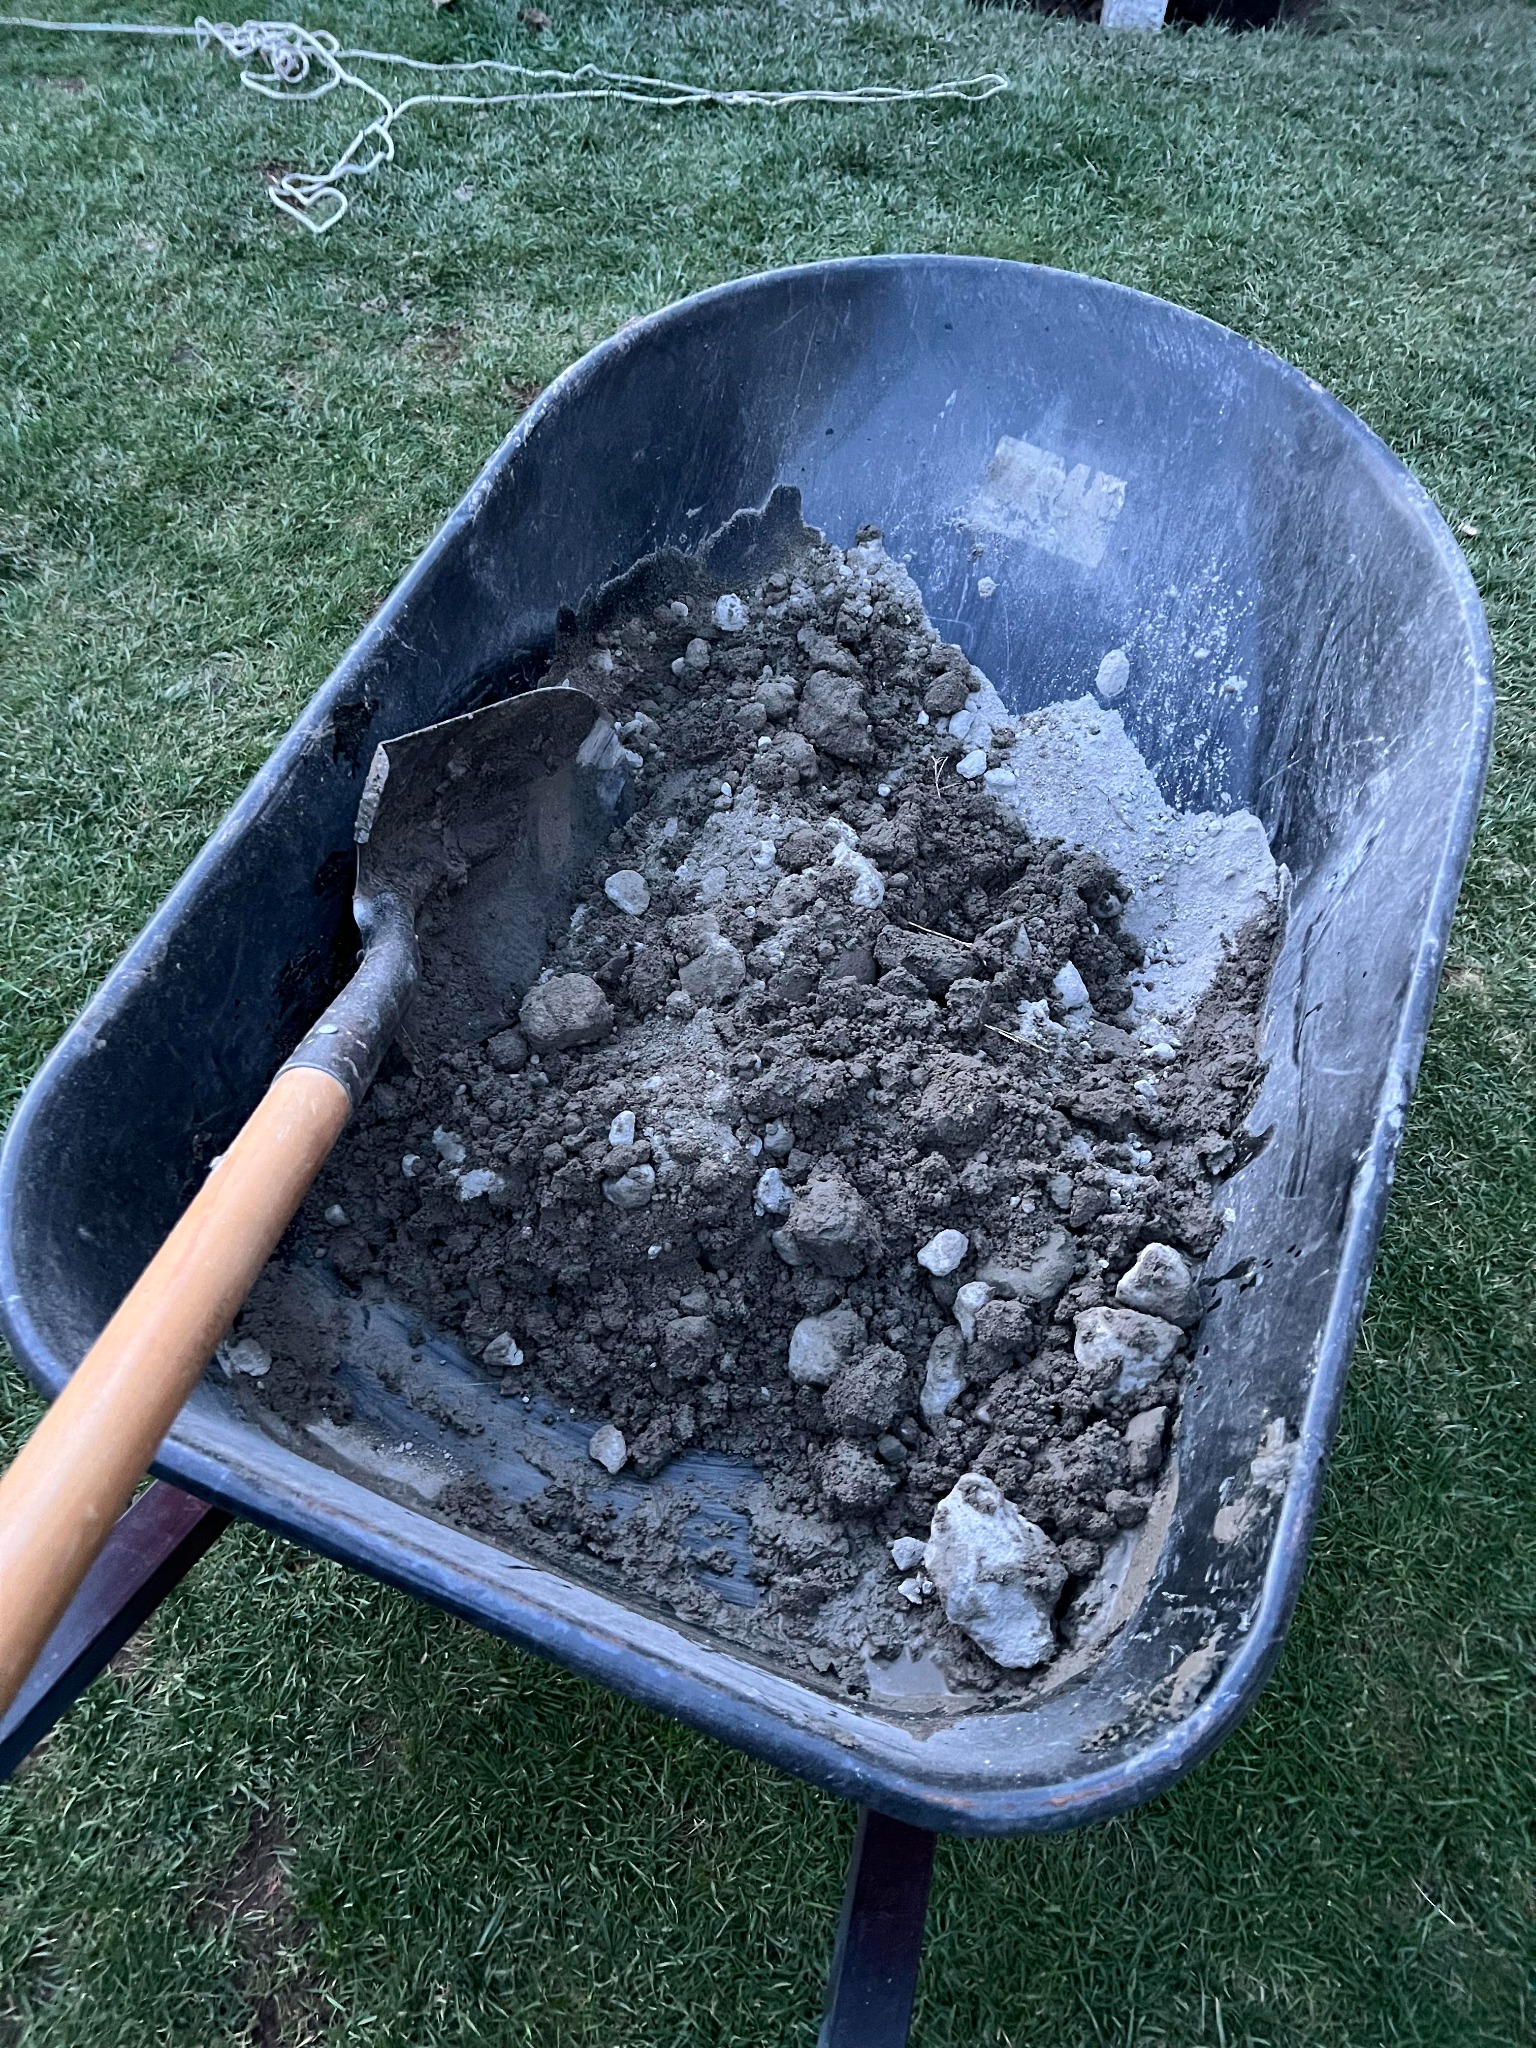
10) Pour the concrete. Use the shovel to spread it around evenly. Use a level and wiggle the posts as necessary to ensure that they are plumb. Wait for the concrete to set/dry.
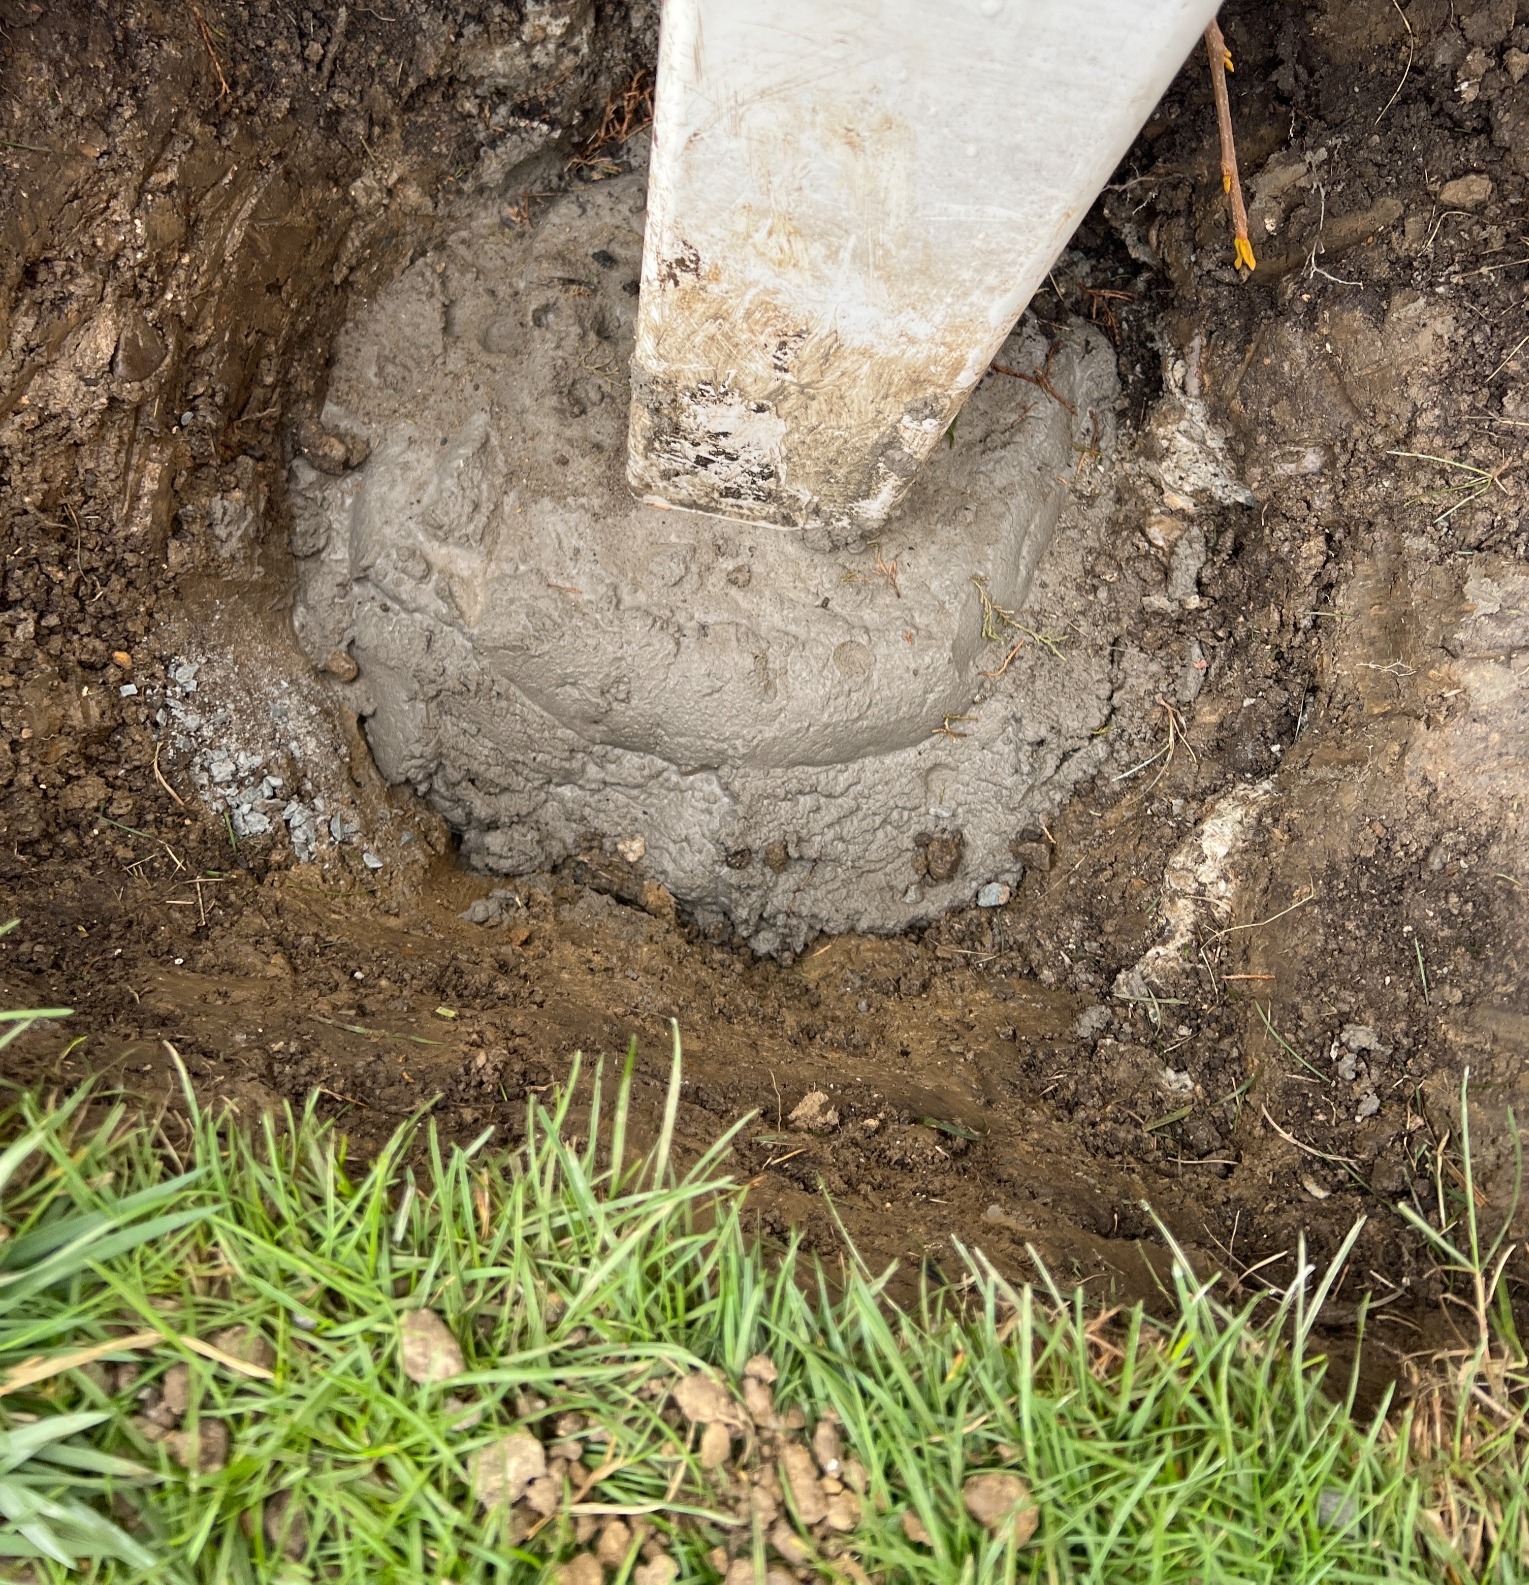
11) Put the dirt/fill back in the holes. Every once in a while, tamp it to compact it and strengthen/secure the base around the post.
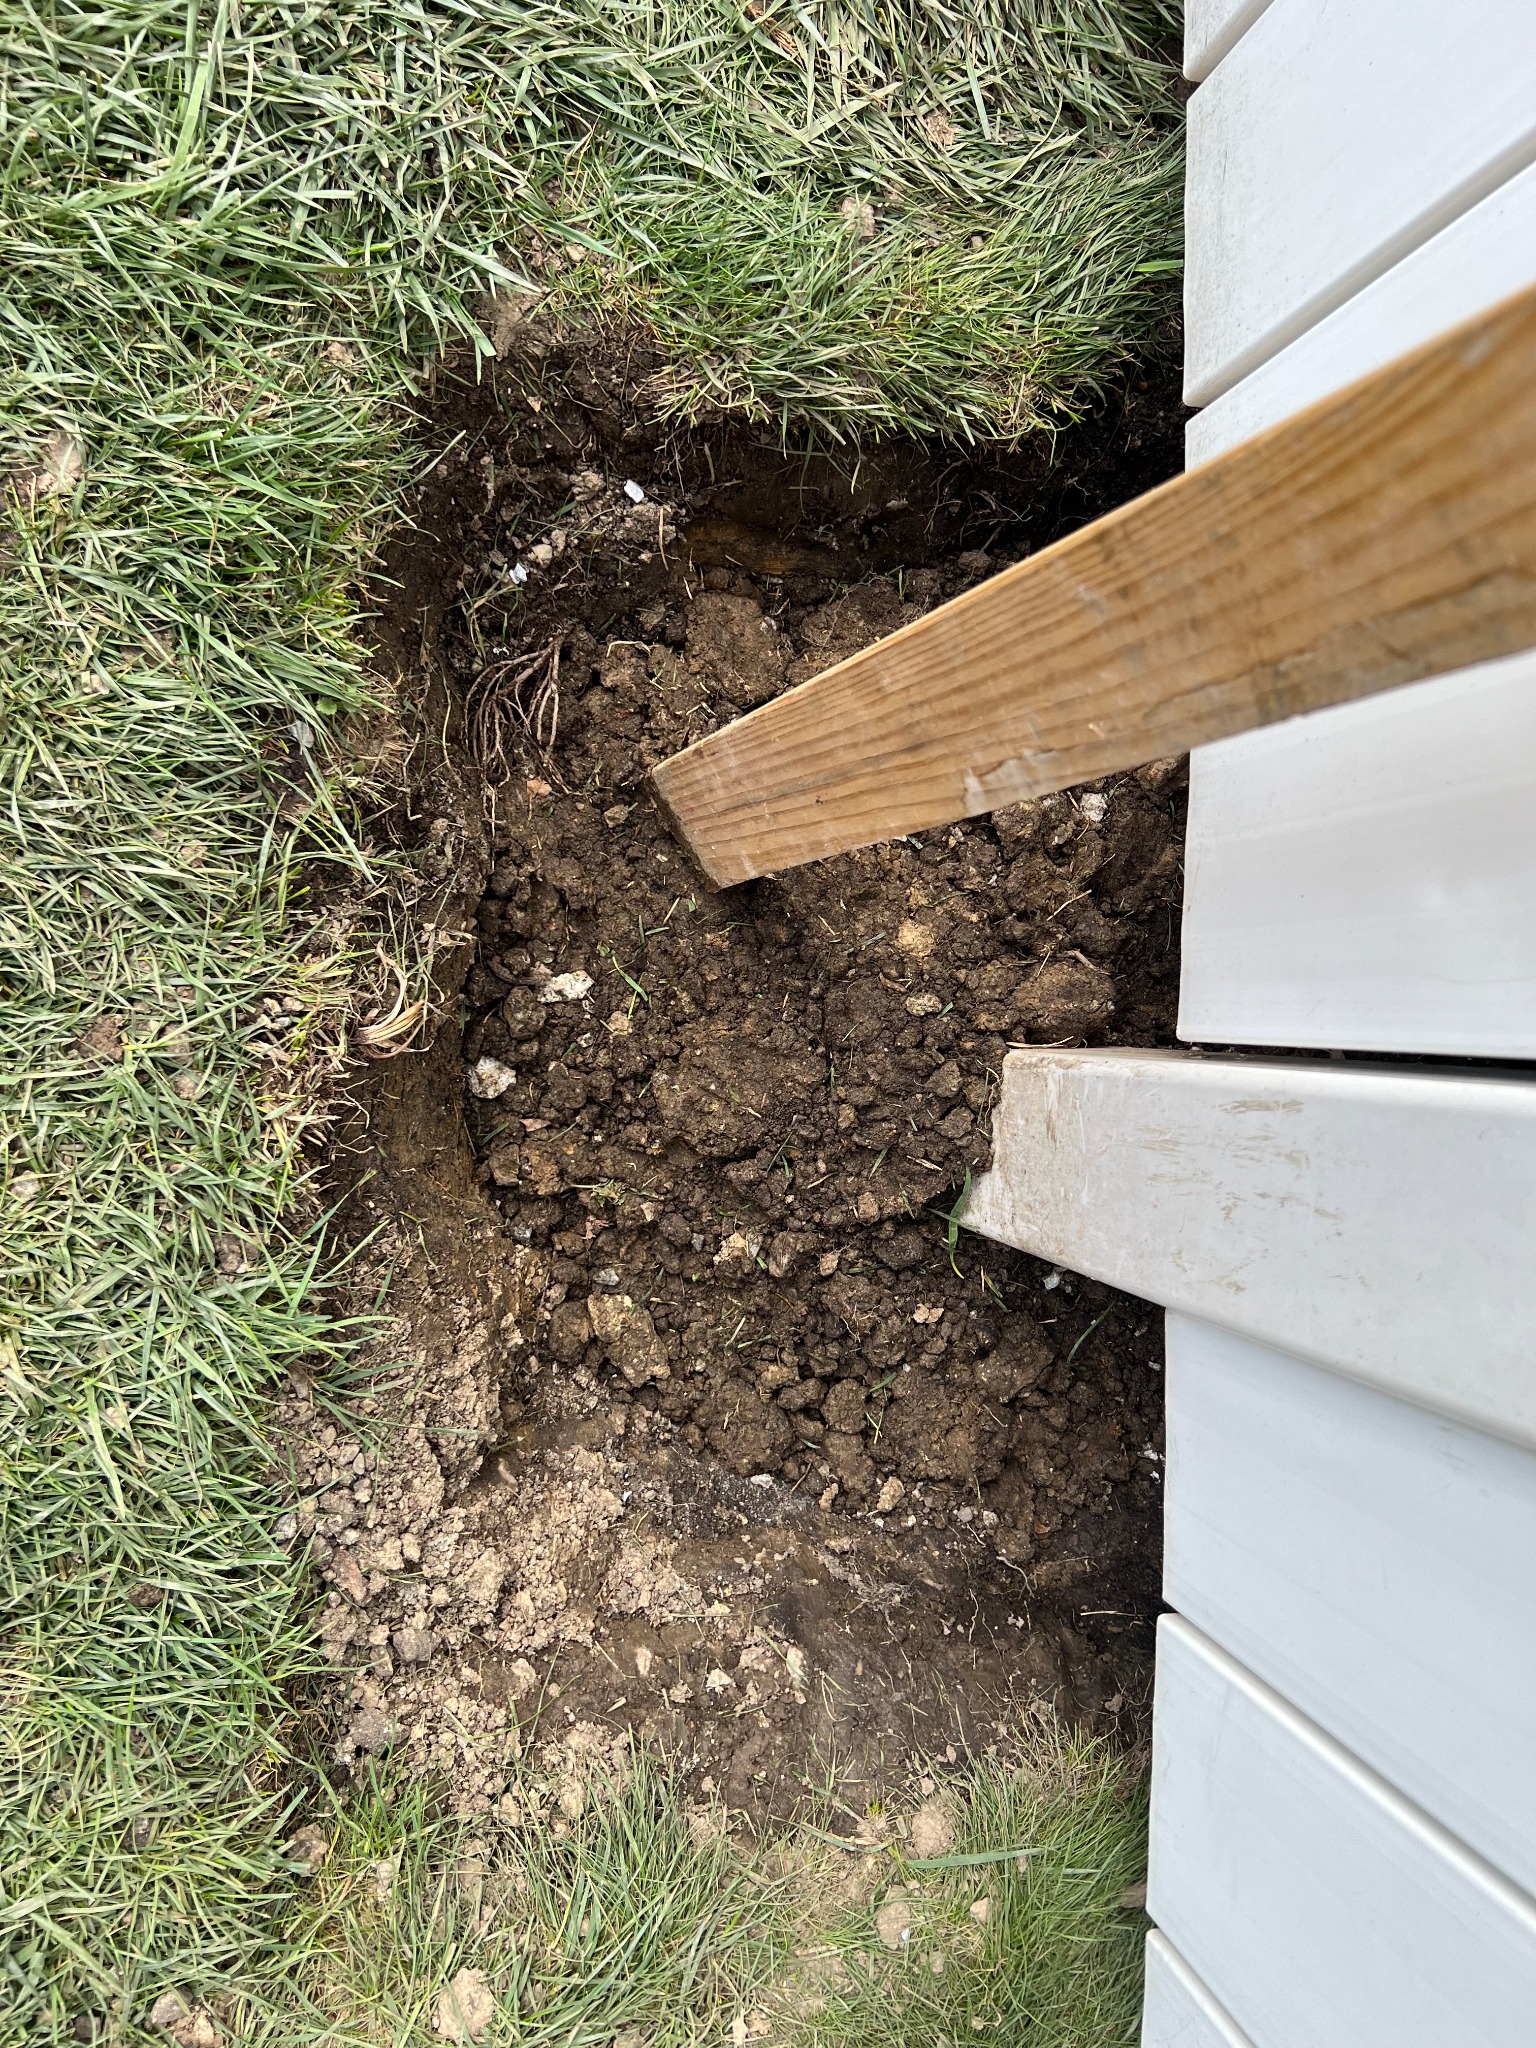
12) Re-hang the panels.
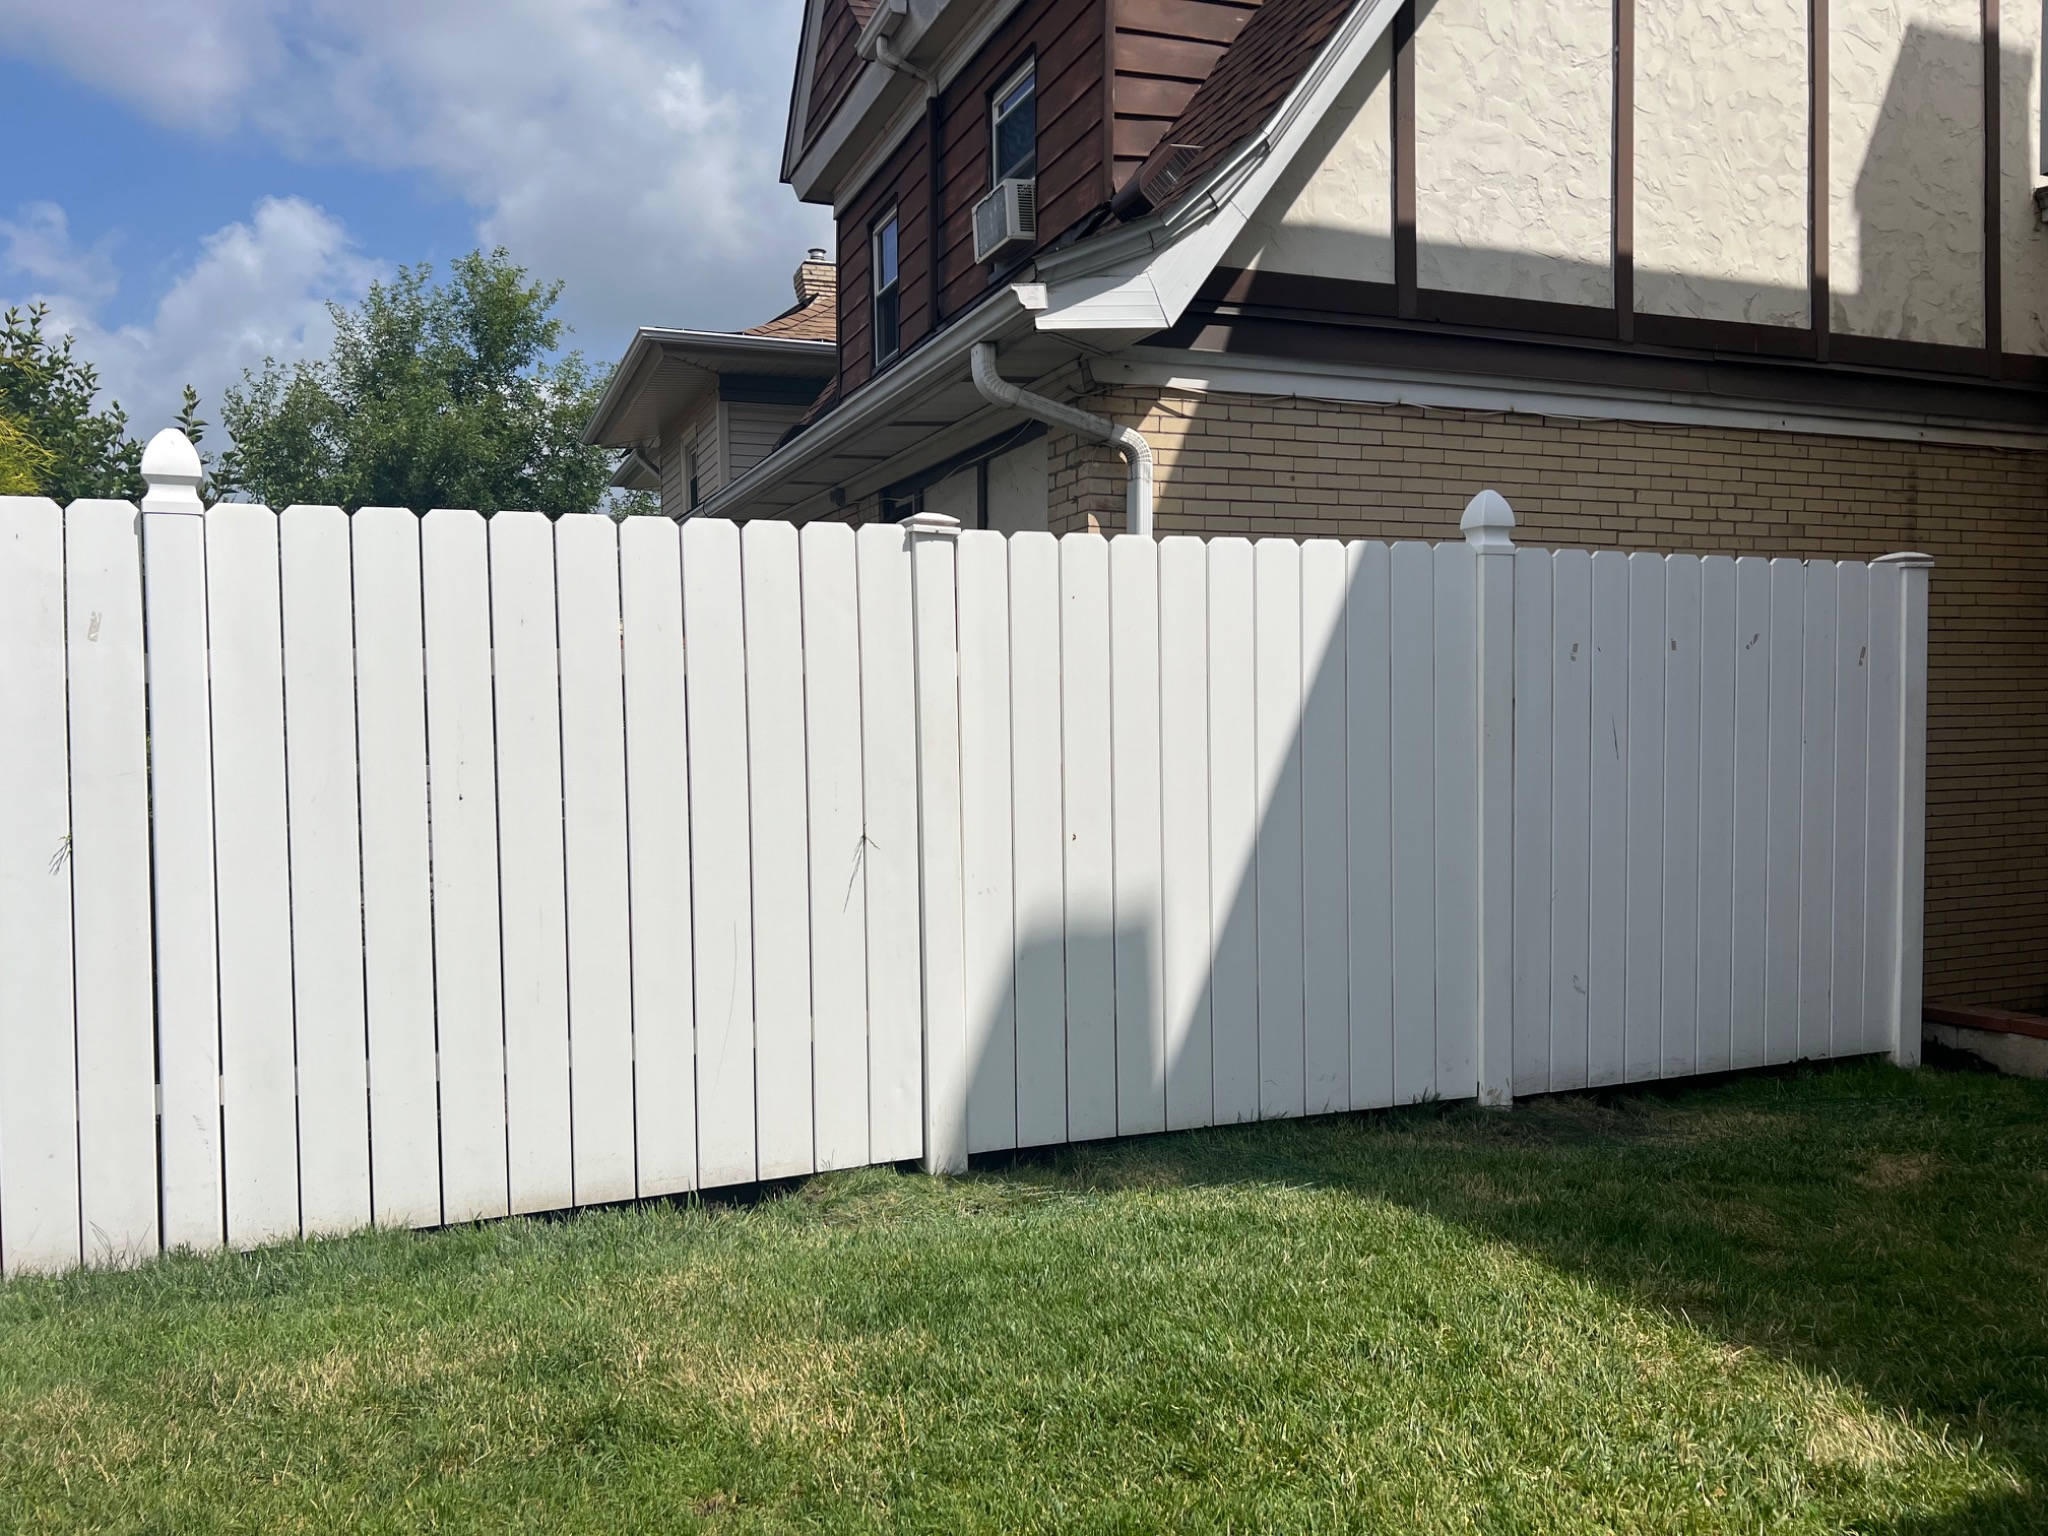
13) Replant the sod. Pack it down and cover it with wire garden fence to protect it from the neighborhood raccoon.
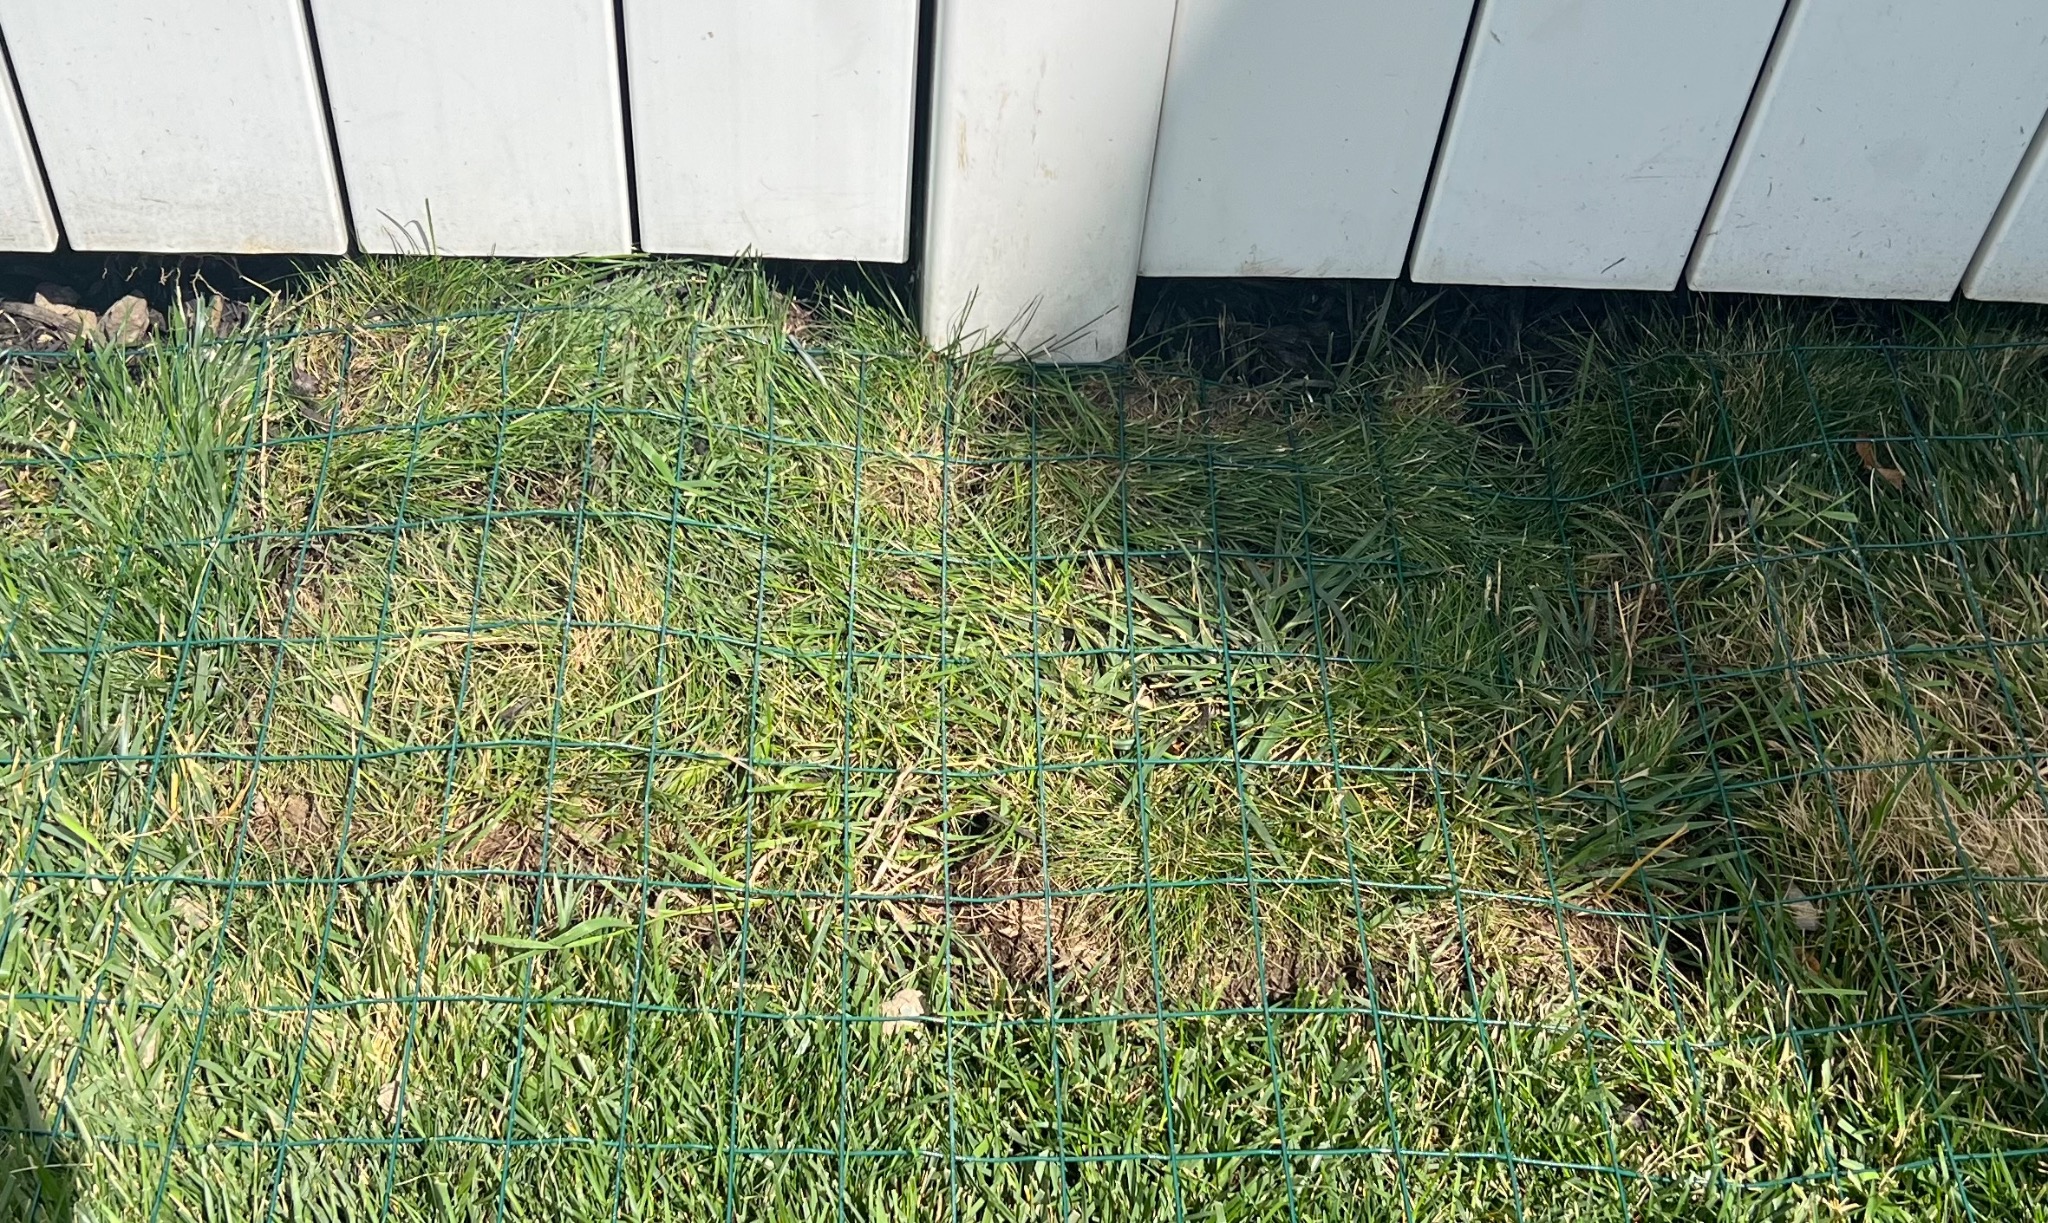
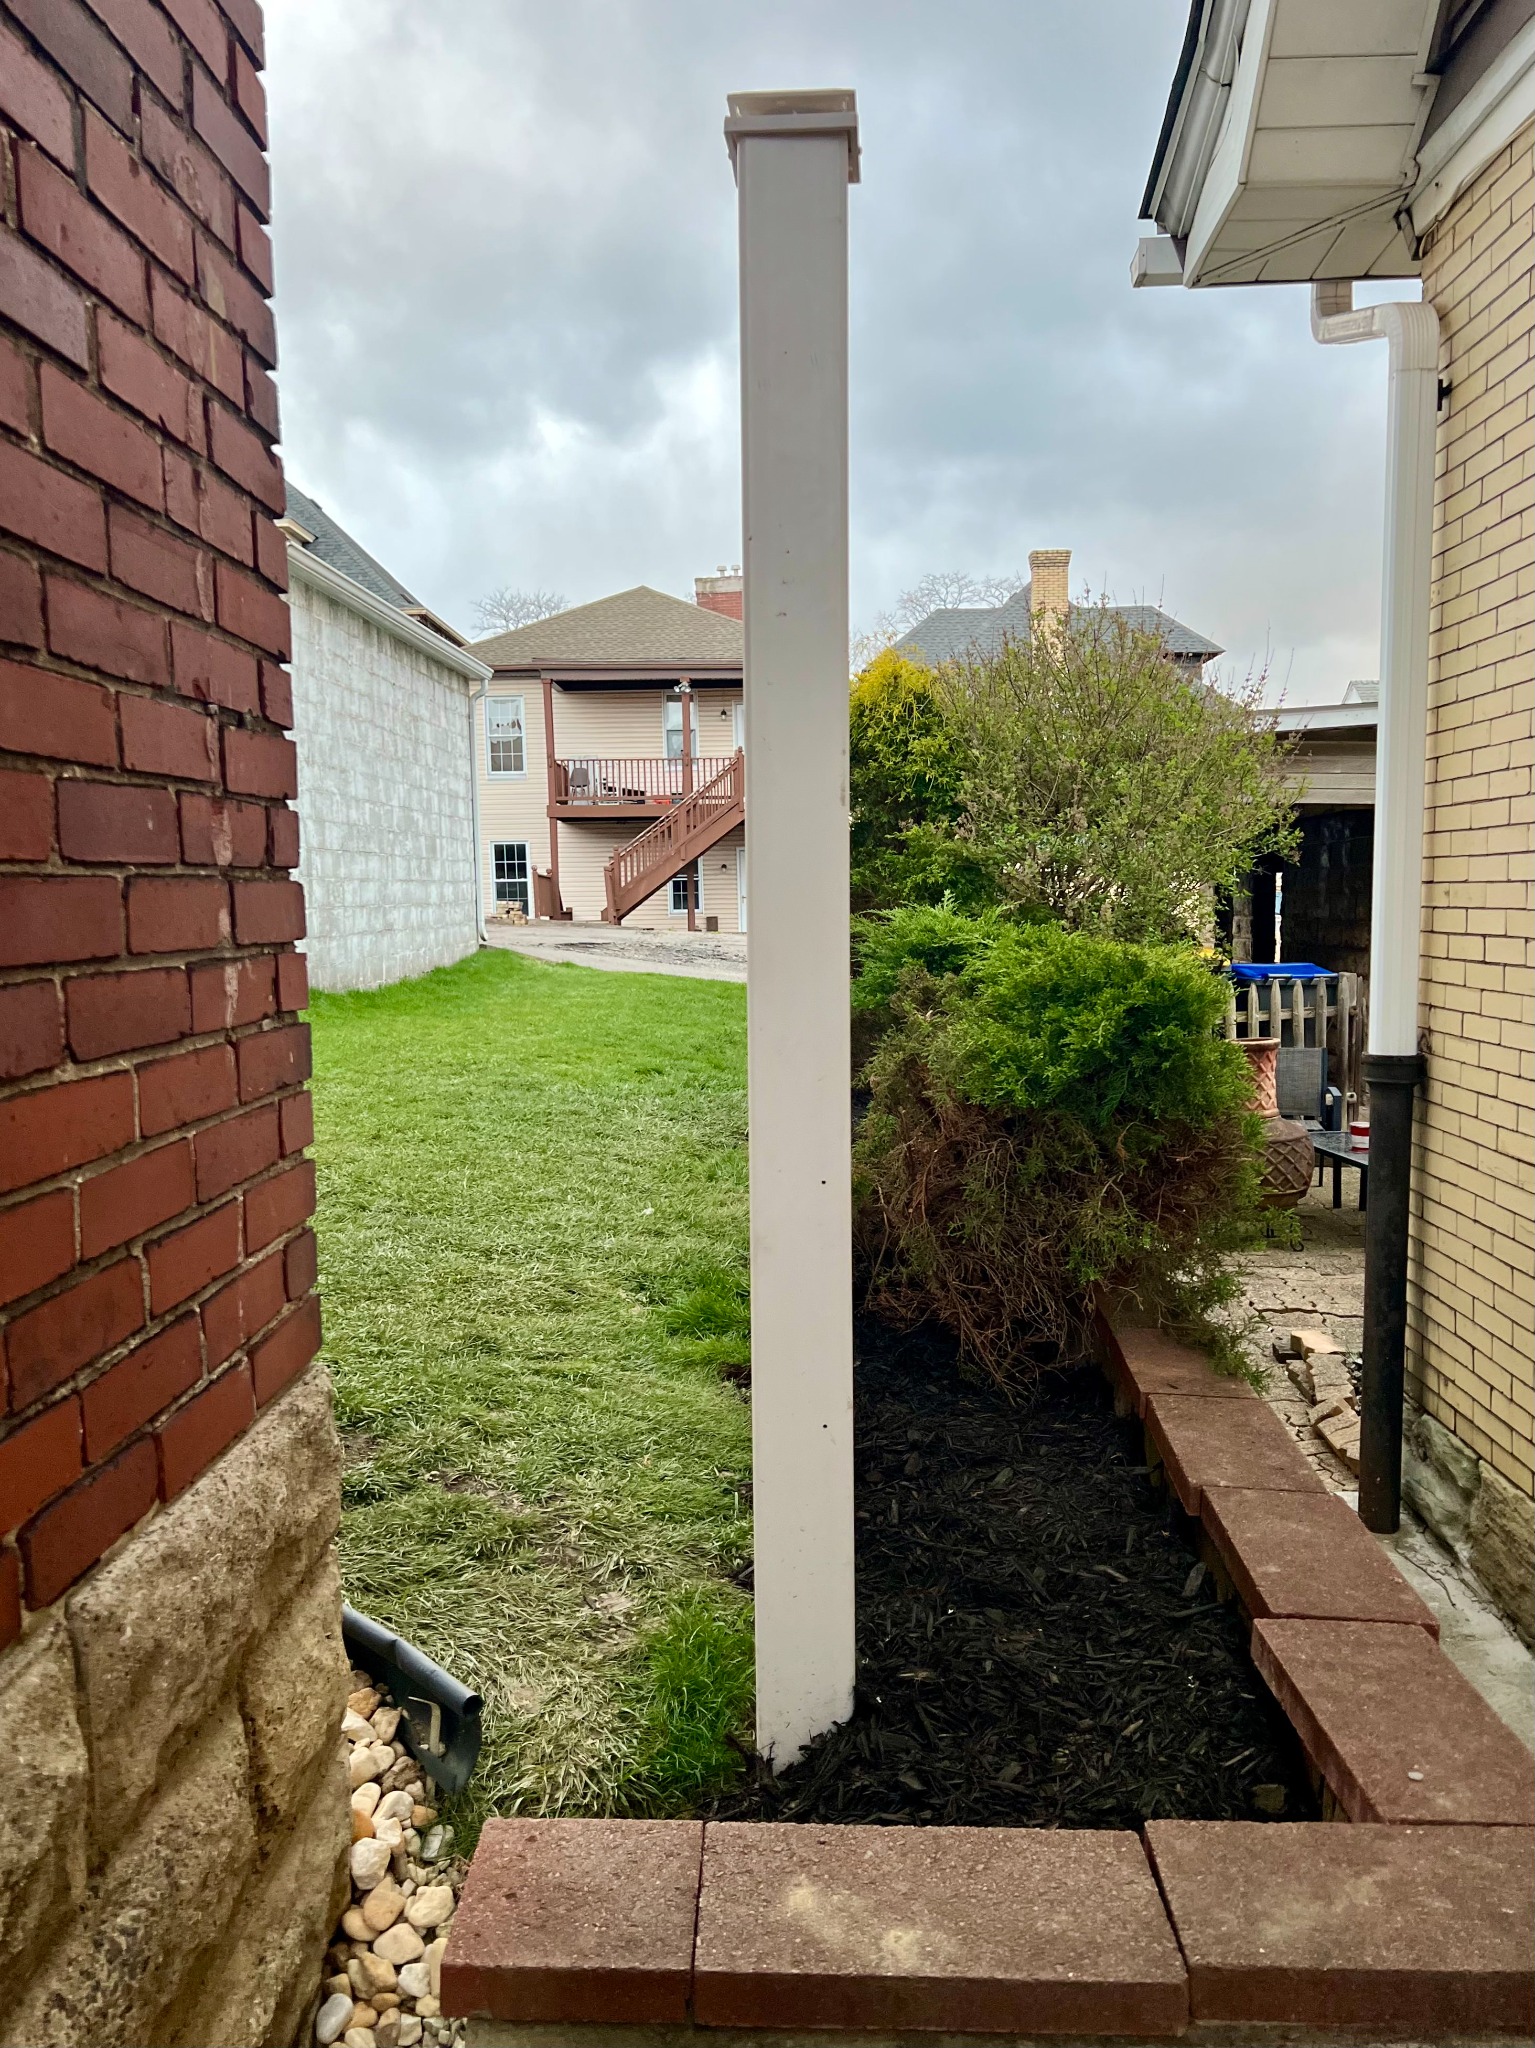
14) Admire the improvement.
Post a comment