Fence Project, Part 2
The problem
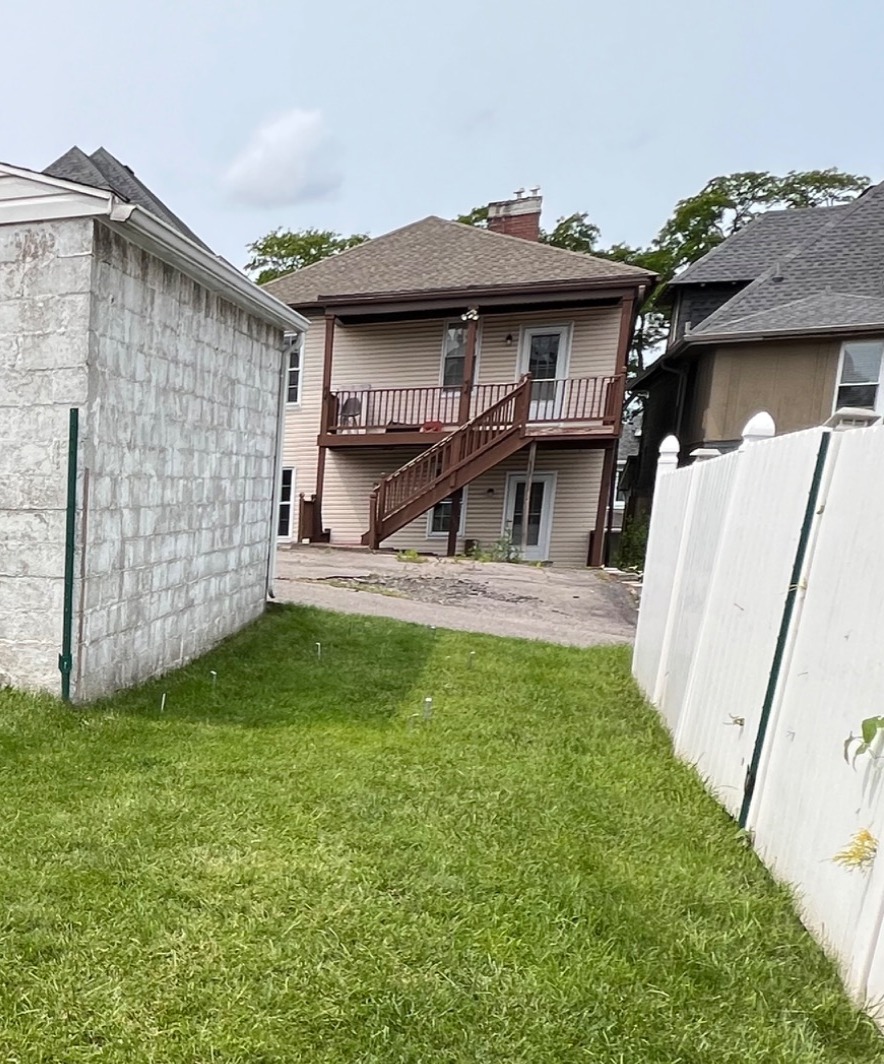
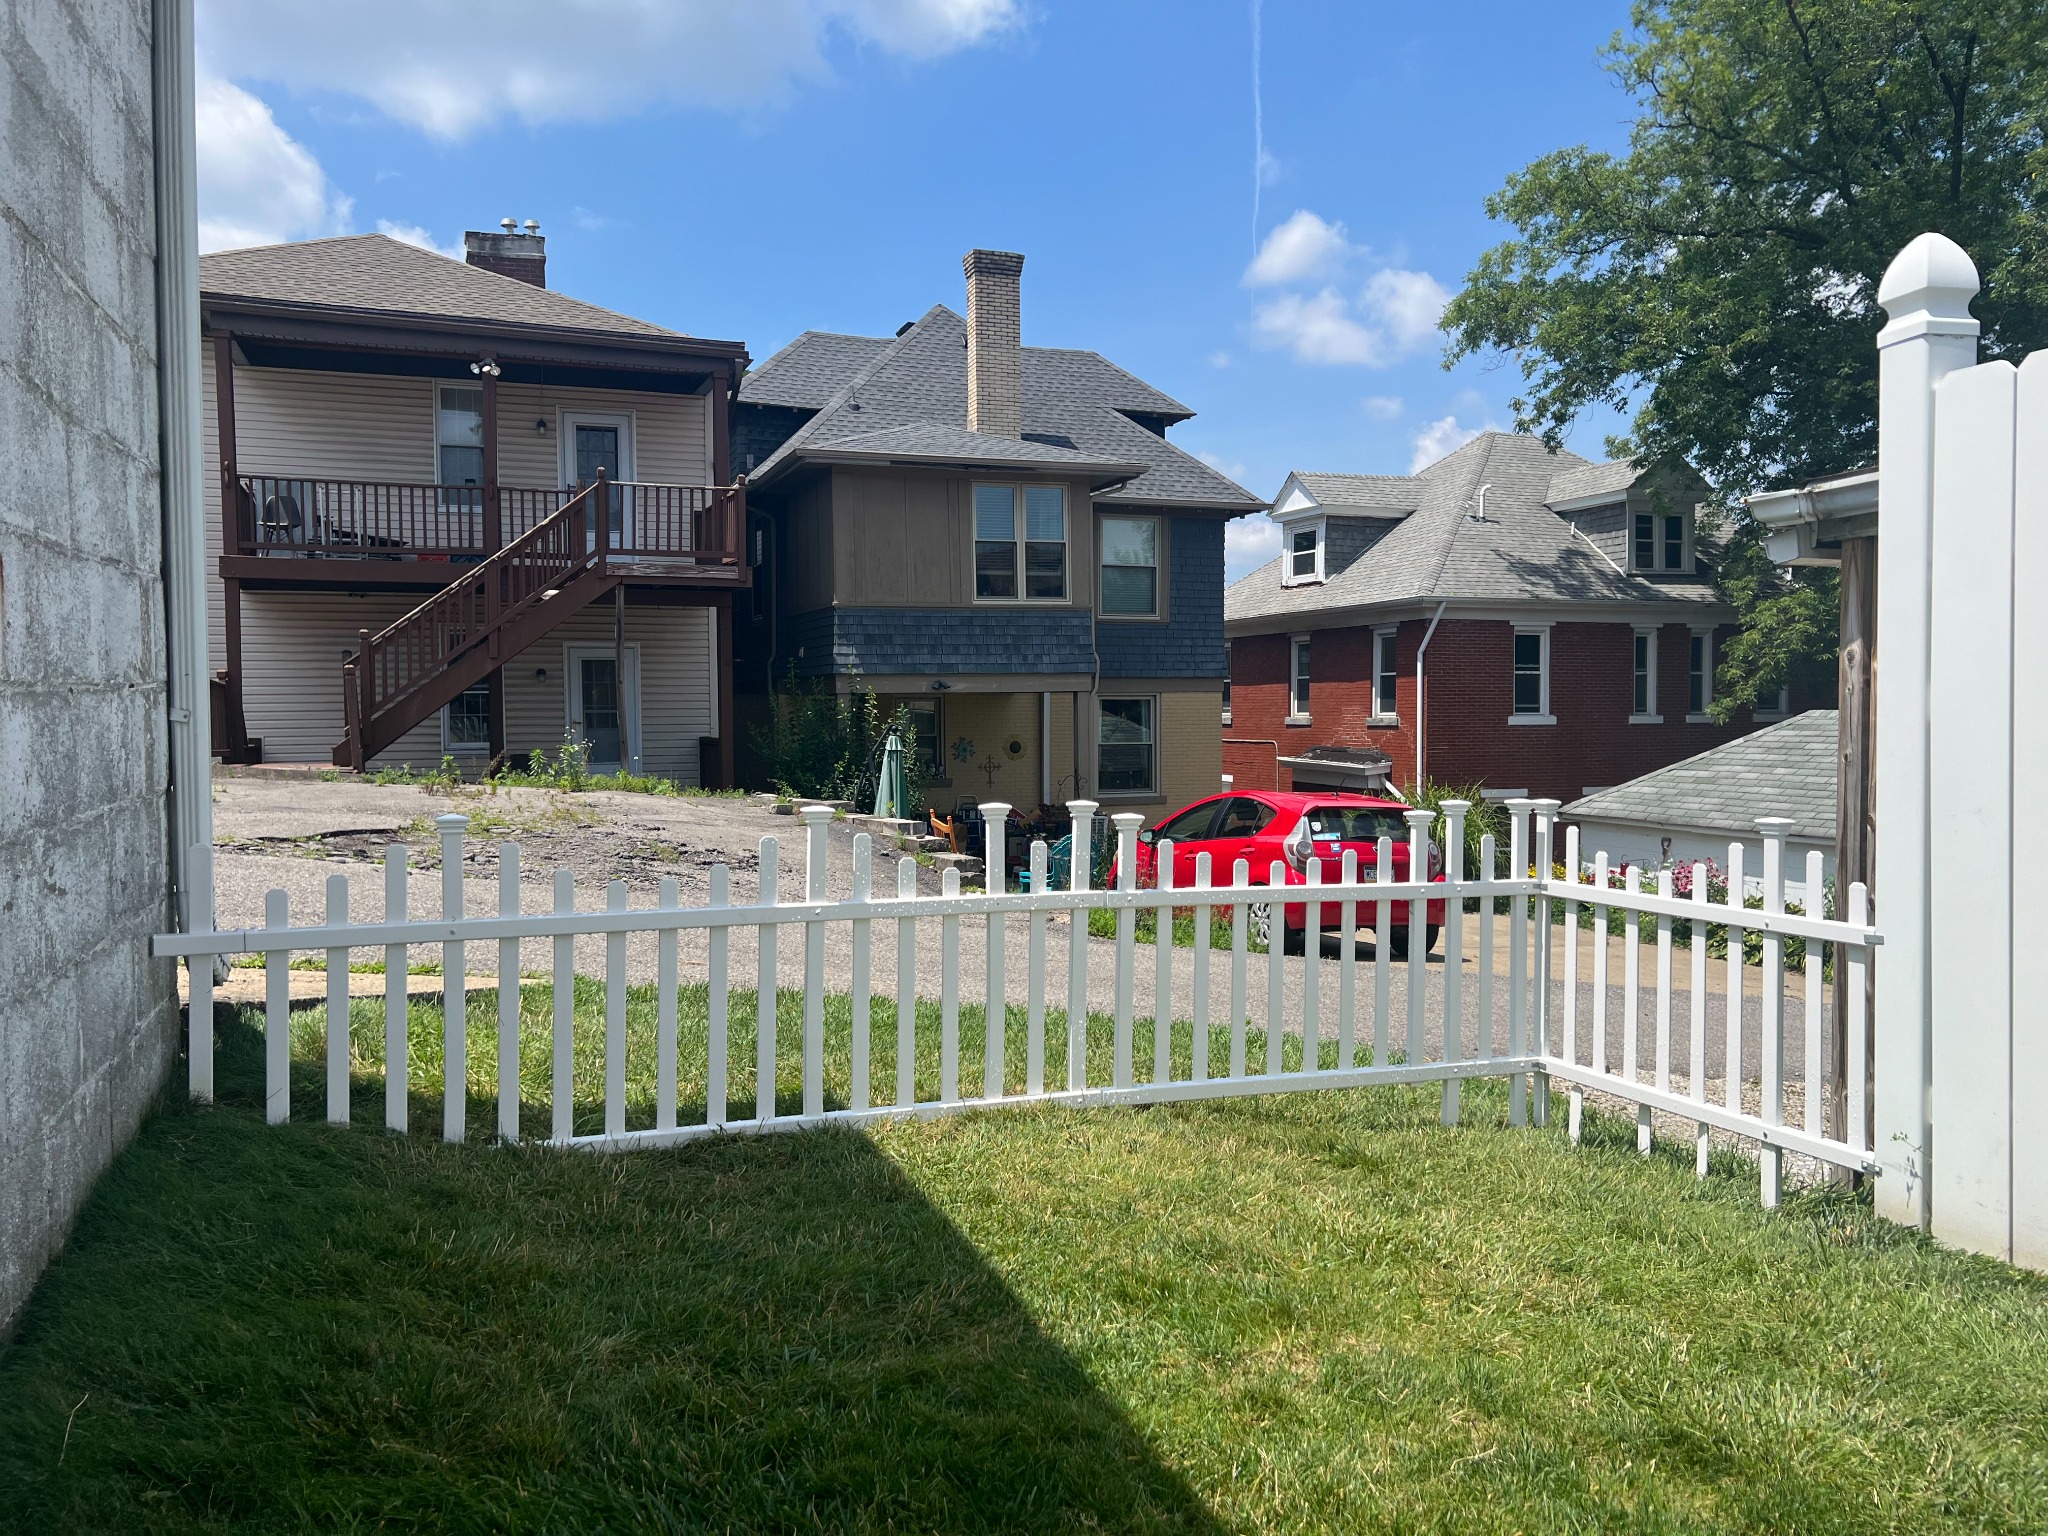
We are sick of chasing balls down the alley. (One day, the train hit a soccer ball. Amazingly, the ball did not pop.)
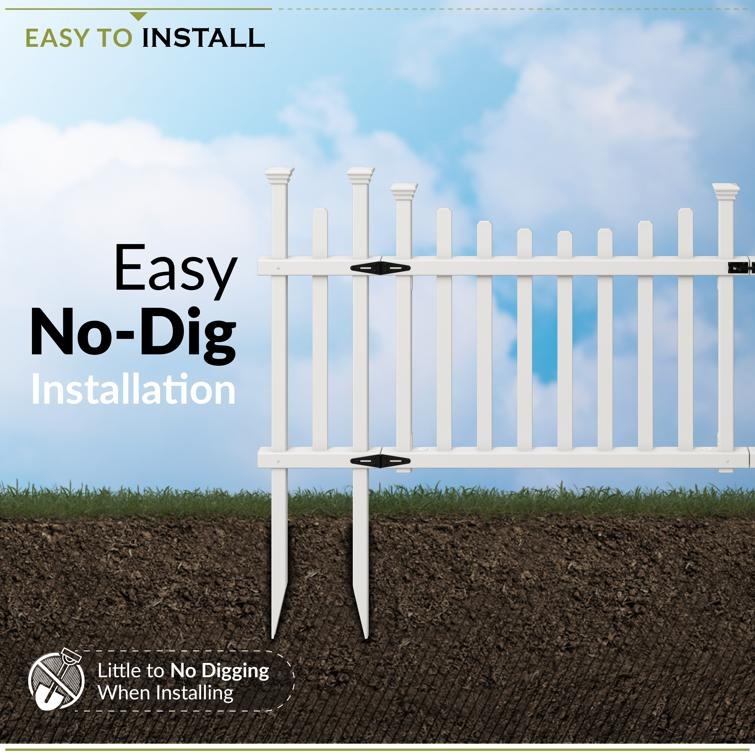
Zippity Outdoor: Madison Fence
I didn't want as intense of a project as the last one (digging three foot holes, pouring concrete, etc.) I found these "no dig" fences by Zippity sold at Home Depot, Lowe's, and Wal-Mart. I ordered two panels and one gate because they would fit my area almost perfectly.
1) Build the gate and panels.
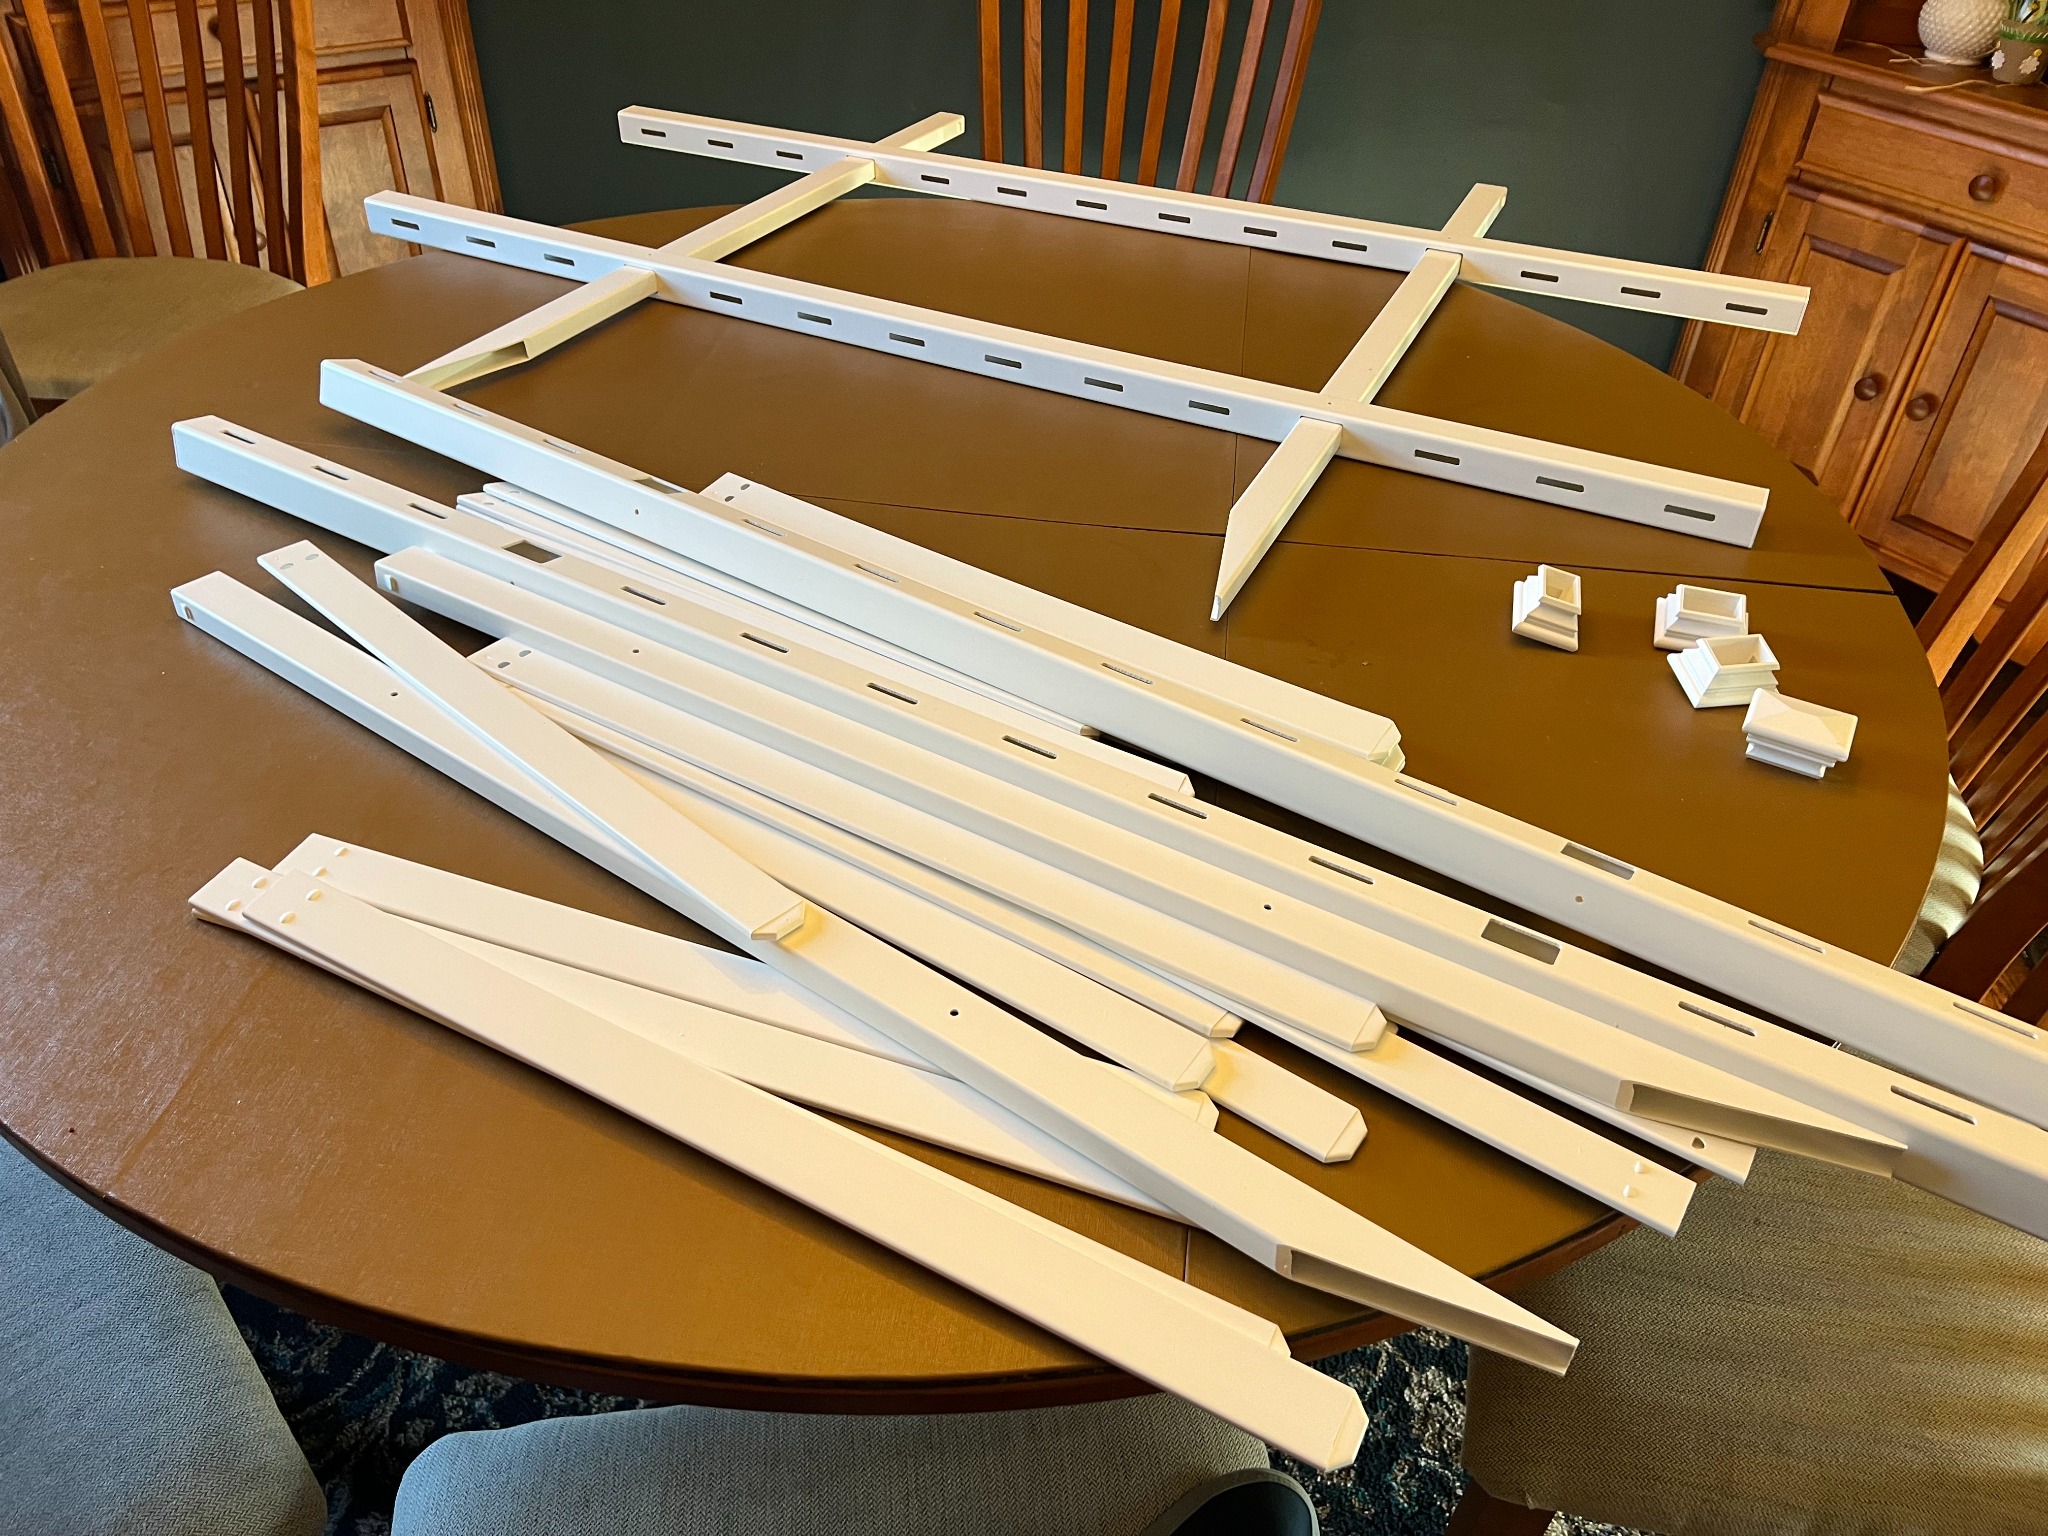
2) Cut one of the panels.
In order to get the exact dimensions that I need for the space, I'm going to have to cut off a piece from one of the panels and reattach it to the other panel at the opposite end of the fence.
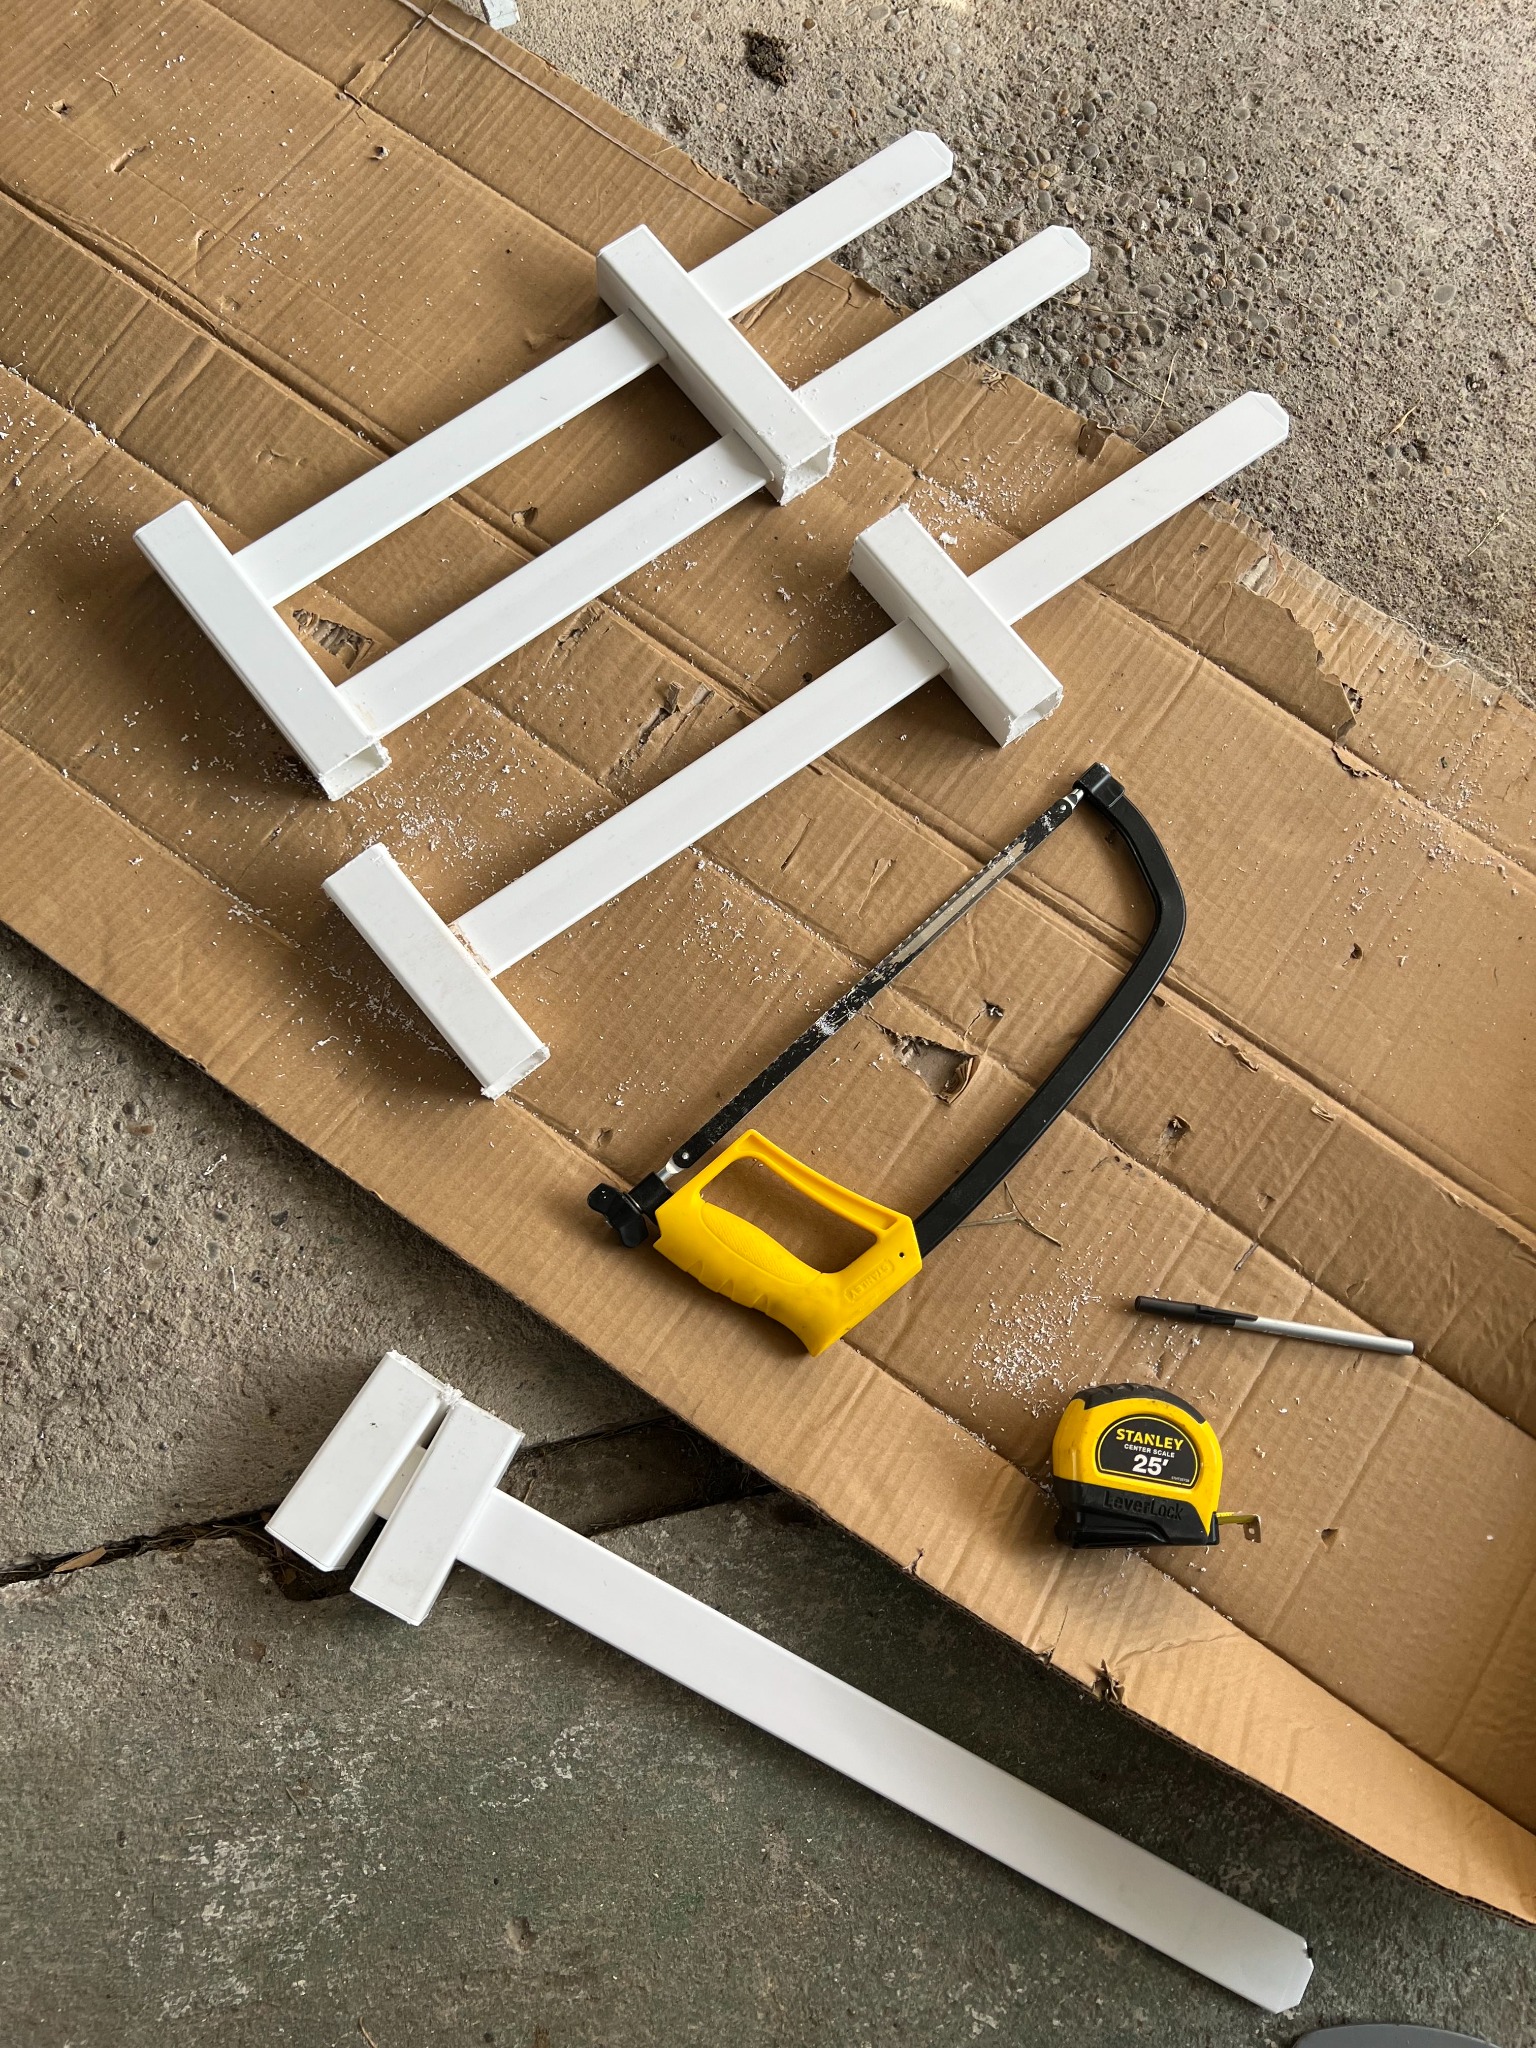
3) Identify where to drill for holes.
You can use a tape measurer or lay out the panels to see where to mark spots for drilling holes. I don't know why, but as simple as this part seems, I had to redo this part a few times.
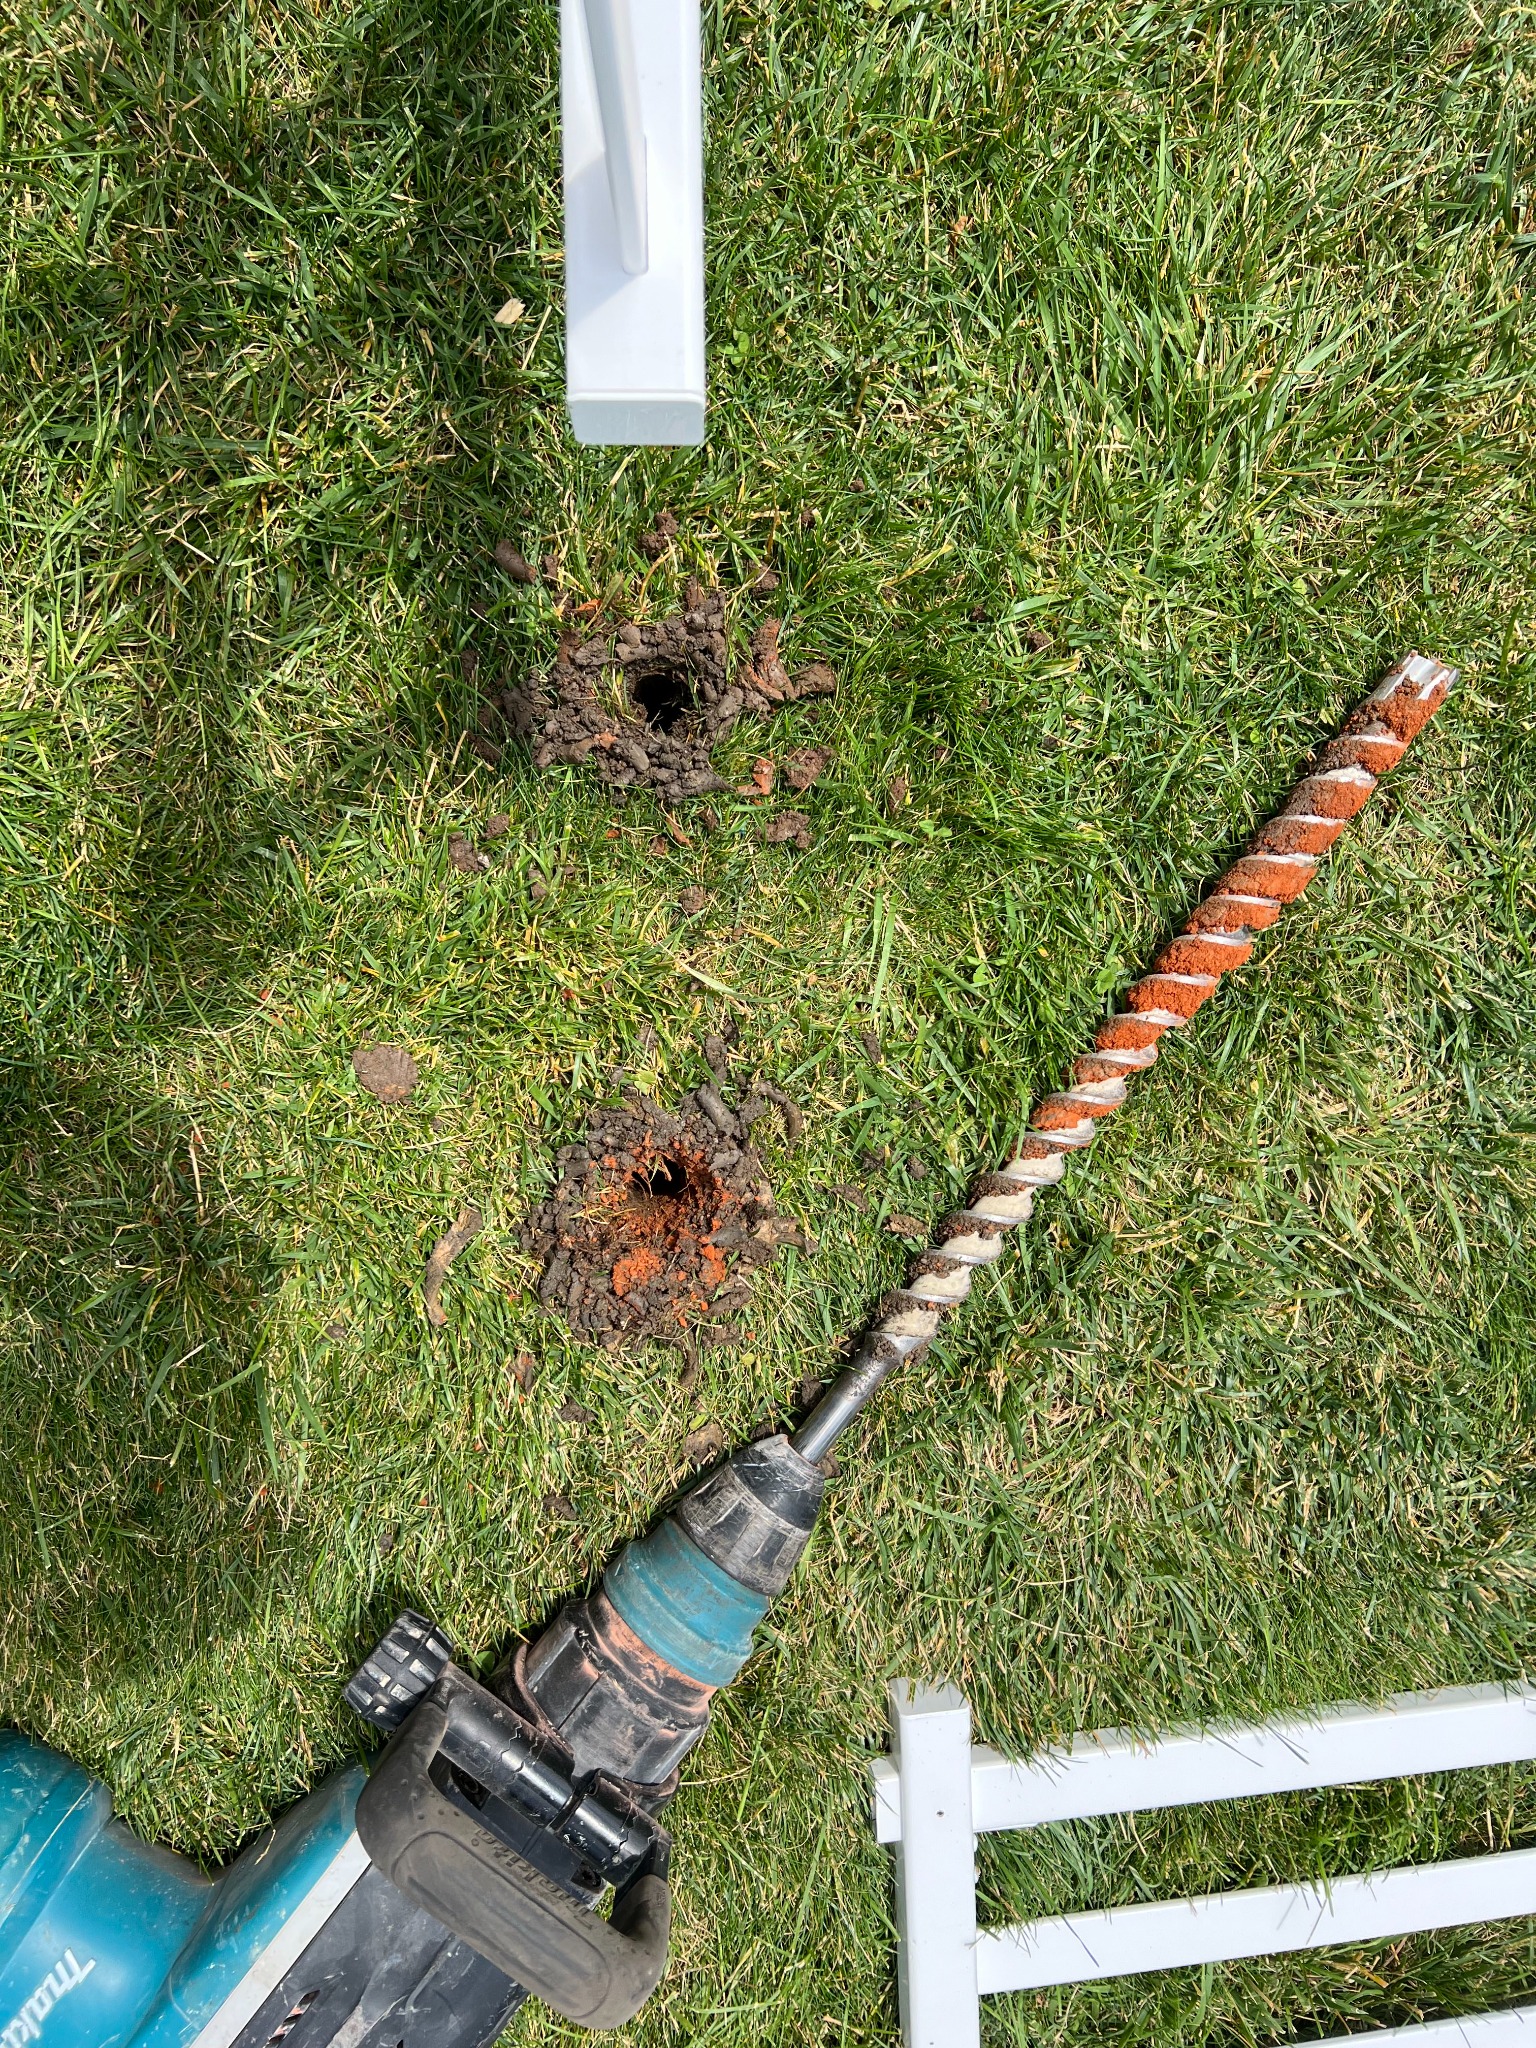
4) Drill holes for the fence posts.
Yeah, it's definitely not a "no dig" fence. (Or maybe in Florida it is, Mario said.) The soil turns to dense clay and there must be so much crap underneath my back yard (bricks, rocks, concrete chunks, etc.). I have decided that an auger is the most useless tool of all time. I had to rent a jackhammer in order to create the holes needed for the fence posts (as much as 14-inches deep).
5) Cut out a strip of sod.
I'm installing the fence where there is a slope, so in order for the fence to be level and for all the panels to be attached evenly to each other, one side will have to be set under ground level while the other side is set higher above ground.
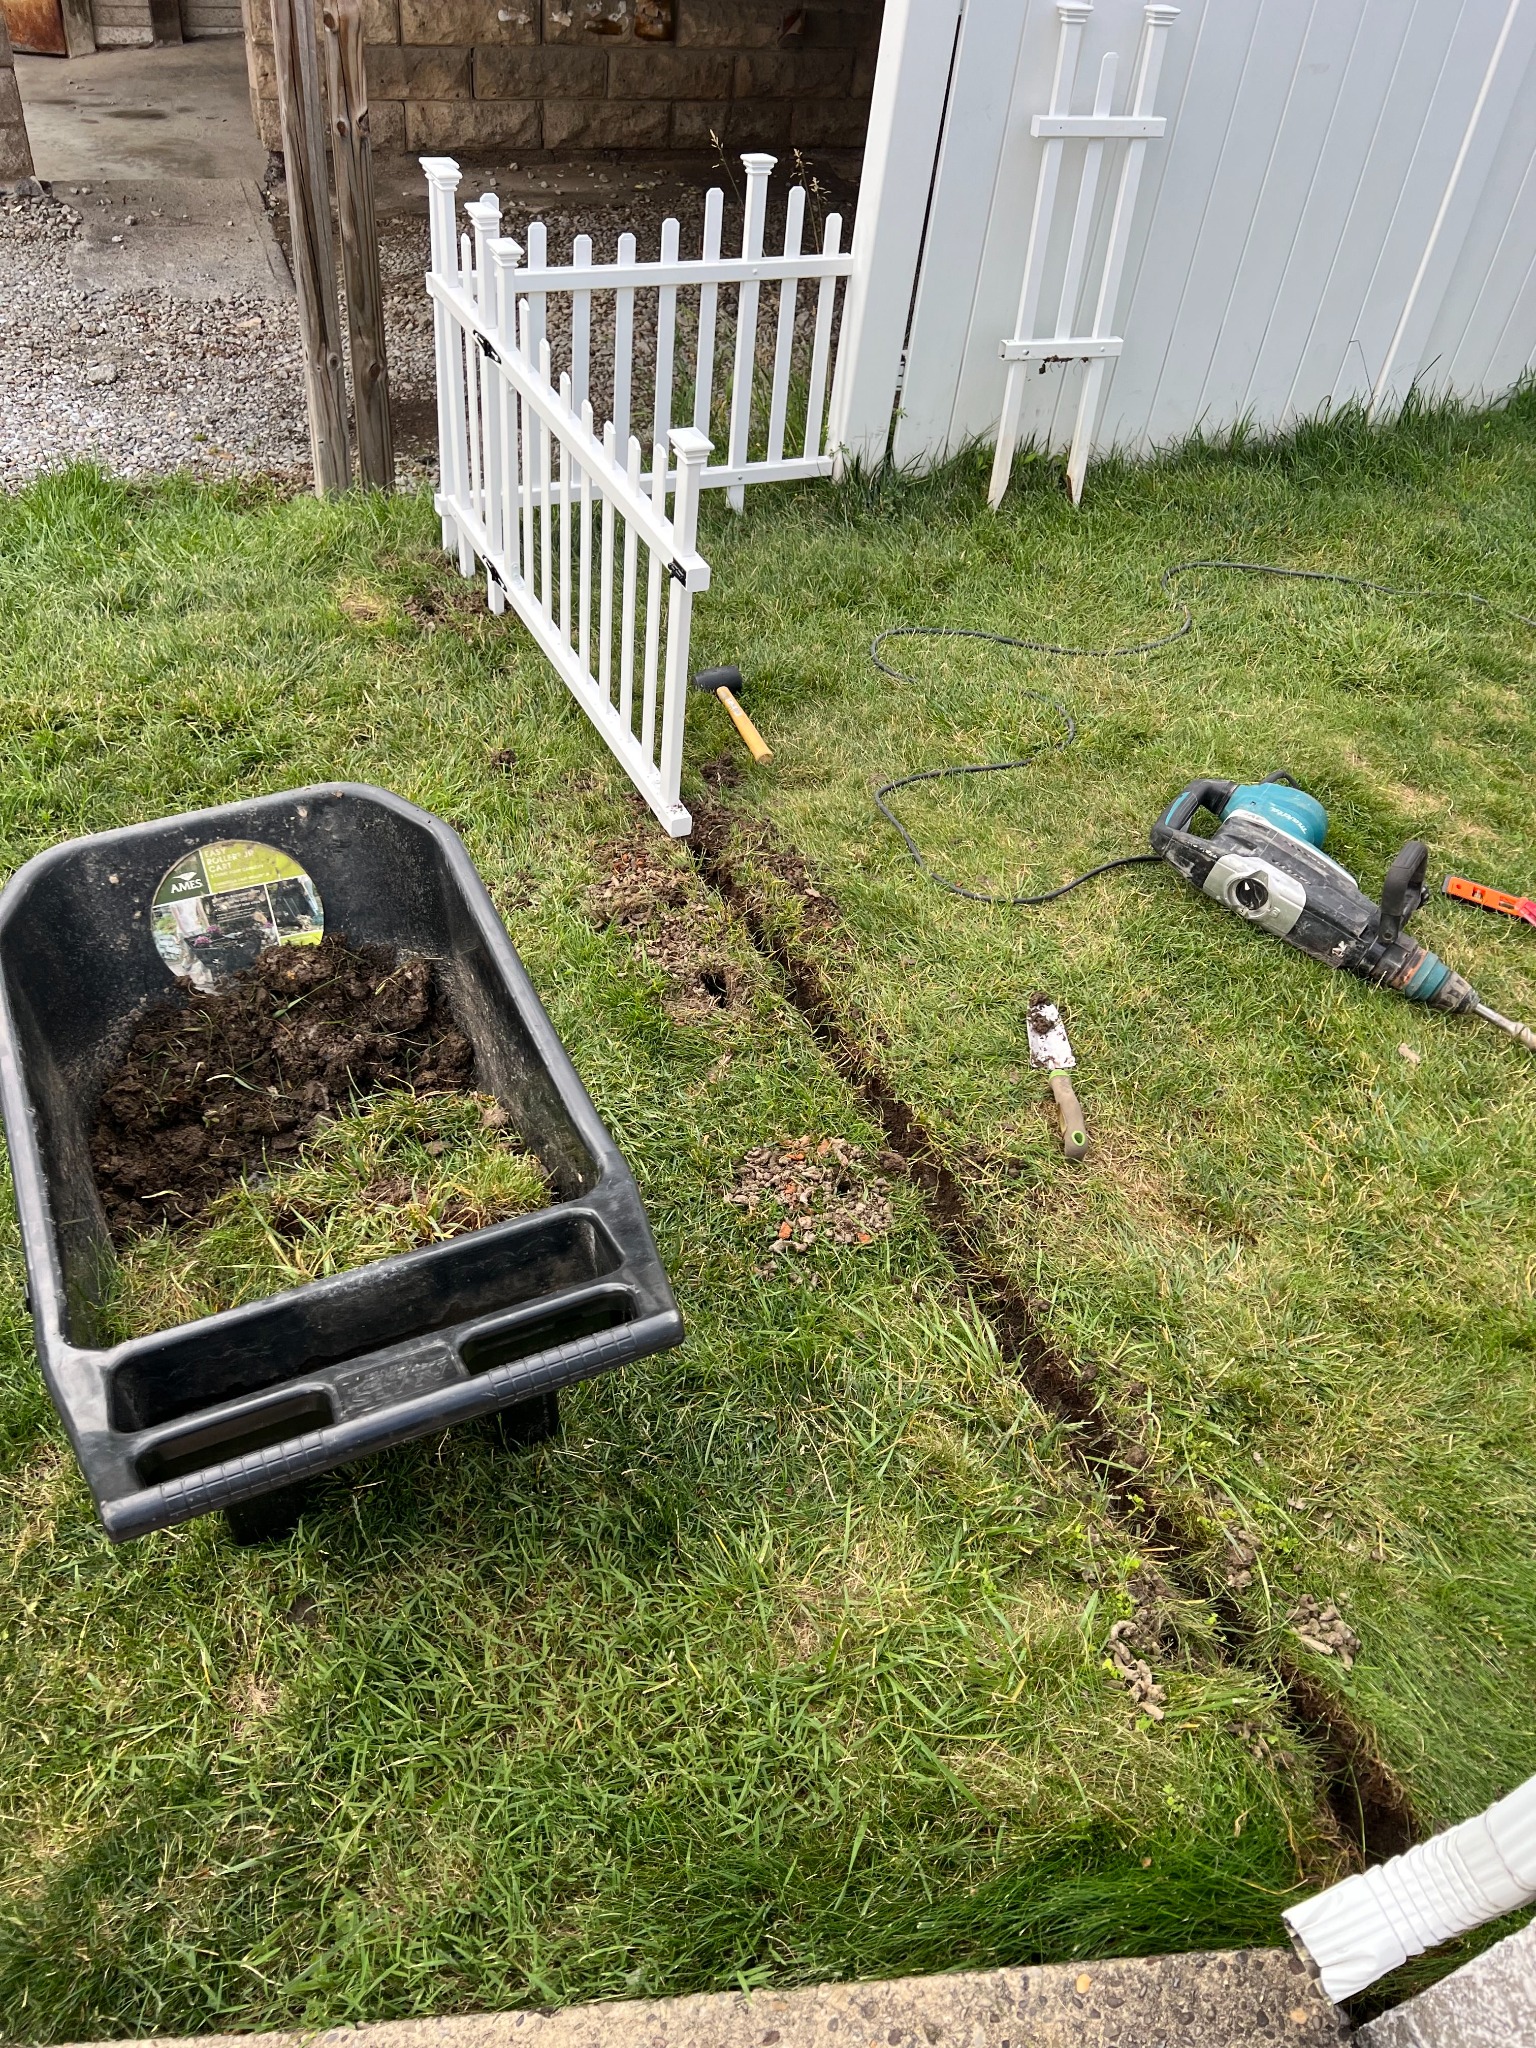
6) Install the new fence.
Put the stakes in the holes. Use a sledgehammer to pound them down. Use a level to make sure that the pieces are level and plumb. Make sure that the horizontal bars of these pieces align with each other from one to the next, or at least close enough that they can be pulled together with a mending brackets.
This part was hard for me. I often had to drill a new hole and try to re-install a piece in order to get it to align better with the piece next to it. Part of the problem was definitely the soil. It's so dense and unforgiving that it was really difficult to adjust the angle of the stake as I was installing it. It was like once I put the stake in the ground, I was committed to the initial spot and angle.
I also think that the product has a design flaw. If you look at the stakes in the product picture above, their points are on the outside. The stakes then were inclined to slide outwards the more I pushed them into the ground. I was worried about breaking them. It would probably be better if the points at the bottom of the stakes were in the middle, right?
Finally, use mending brackets to secure the pieces to each other.

Post a comment